TL;DR: Canva is an excellent graphic design tool that lets newbies create professional-quality graphic design assets. Here’s a quick guide for beginners to learn how to use it.
Canva has made graphic design more accessible to non-designers. It lets them craft high-quality designs for free. From web designs to social media graphics, this graphic design tool can get you a wide range of visuals quickly and easily.
What Graphic Design Services Does Canva Offer?
Not just a graphic design tool, Canva is a full creative platform that offers beginners access to a wide array of graphic design services they can craft themselves:
- Templates for Every Project: Templates you can use for creating social media posts, resumes, presentations, logo designs, and many others.
- Elements Library: Thousands of shapes, icons, stock images, videos, and illustrations.
- Text and Font Tools: A wide selection of fonts, styles, and effects.
- Export and Print Services: Your designs will be saved in various formats for web, print, and Canva’s Print Shop, which lets you directly order physical products, such as flyers, business cards, or merchandise.
- Canva Pro Upgrades: Premium features that include brand kits, background remover, stock assets, and advanced editing and graphic design tools for a more professional look.
Skip the DIY, Get Unlimited Design
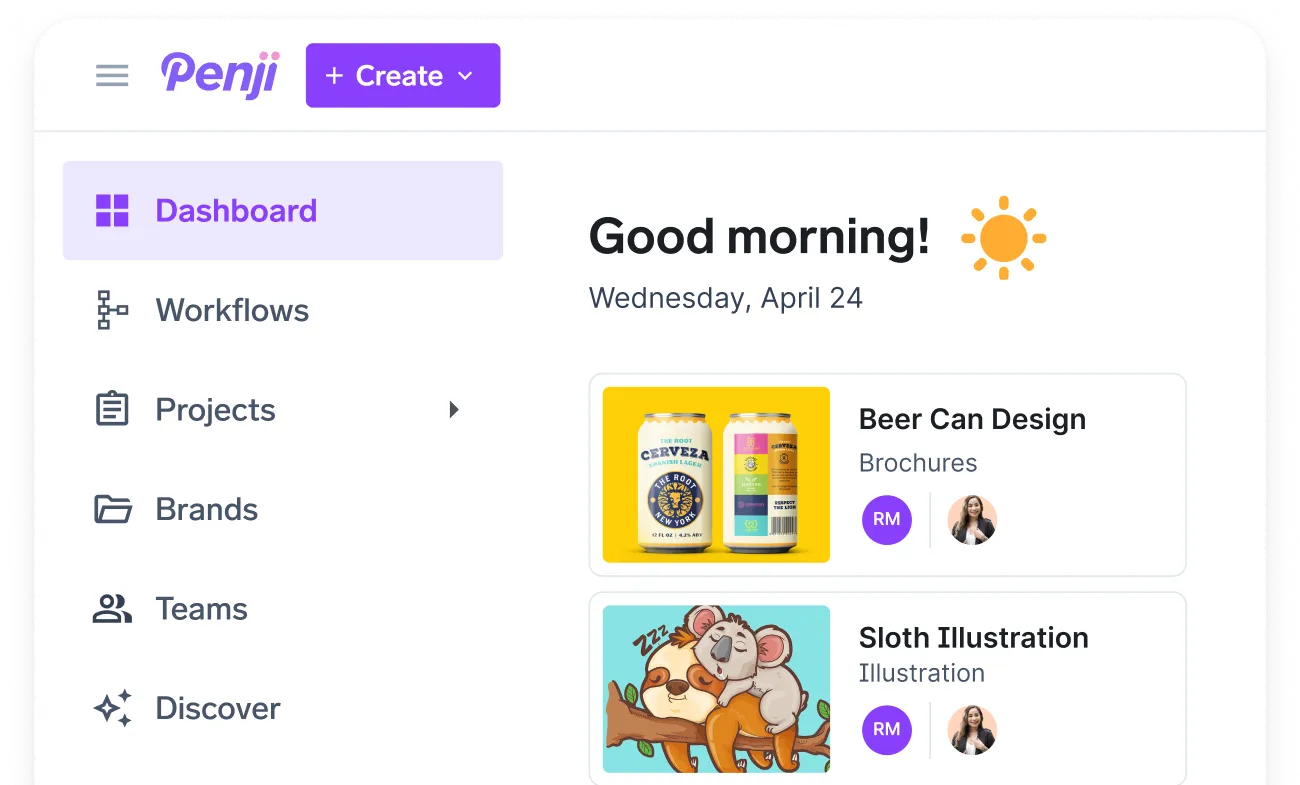
Get personalized creations from Penji's expert graphic designers


How Does Canva Help with My Design Needs?
For newbies, Canva gets rid of the complex processes of creating designs often found in traditional design software. You no longer have to start from scratch; you can now do the following:
- Quickly craft professional-quality graphics effortlessly.
- Customize templates to match your brand’s style.
- Use AI-powered graphic design tools, such as Magic Design and Style Match, to easily generate designs that meet your requirements.
- Craft every visual asset you need from social media campaigns to marketing collaterals in a single platform. It’s like having your very own graphic design subscription service without the hassles of hiring.
Here’s how to use Canva for beginners.
Step 1: Sign Up and Log In
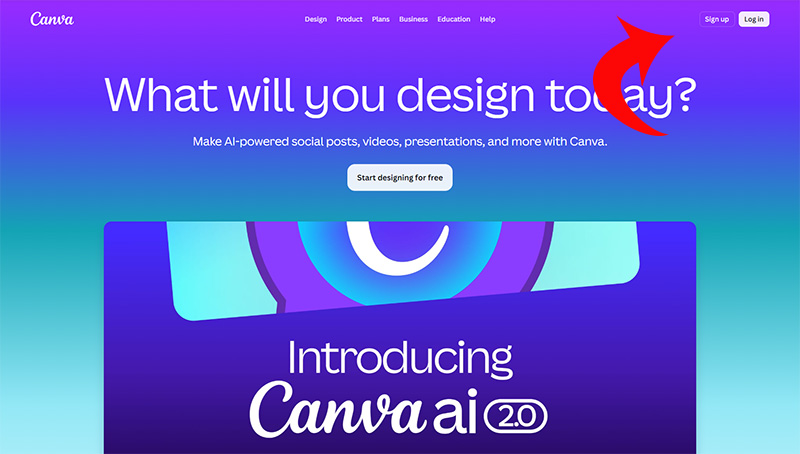
Go to the Canva website by clicking on this link. Create your account using the Sign Up tab in the upper right corner. You can use your email address or any of your social media accounts. Follow the prompts, and log in to your account once you have signed up.
Step 2: Select Your Design Type
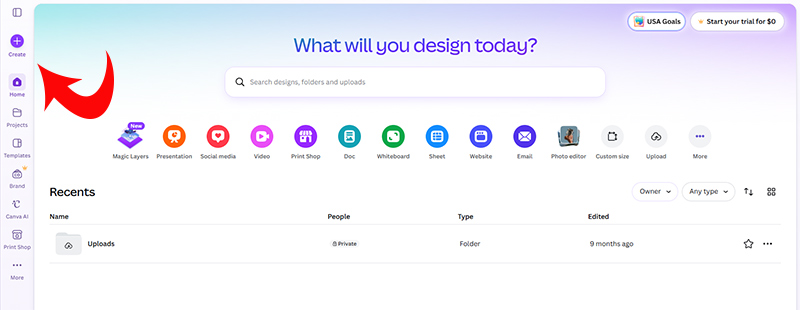
Once you log in, you’ll find the Canva homepage. To start your project, follow these steps:
- Fill in the Create a design box in the upper part of the screen. Click on it to begin the design process.
- You’ll find a pop-up menu wherein you’ll select the design type.
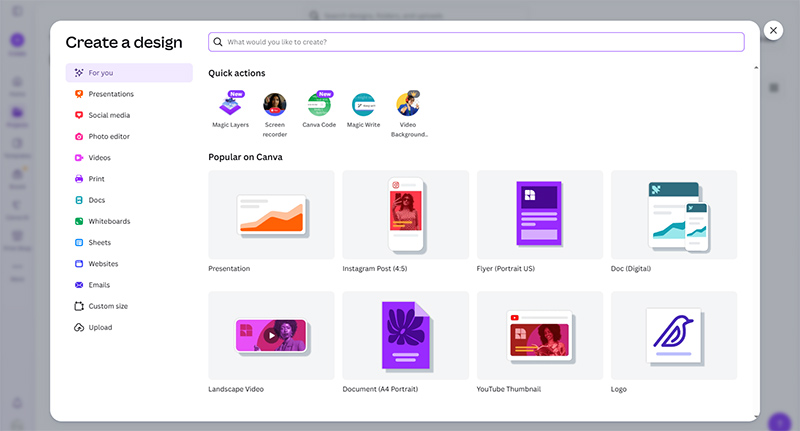
- Pick your design subcategory by choosing from the list within that category. For this article, I chose Logo.
Step 3: Choose Your Template
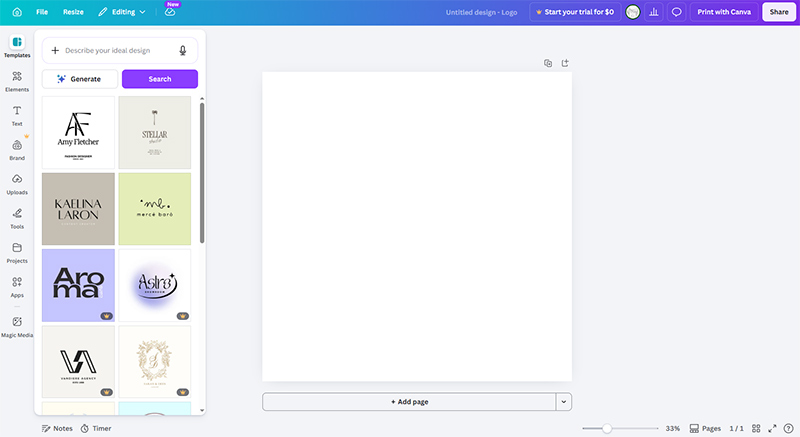
Canva has an extensive library of pre-designed templates for various projects. Here’s what you should do:
- Describe your ideal design: You can describe the design you have in mind, and Canva will show you the available options.
- Use the search bar: You can also specify a design or style by using the search bar. Once you find a template, click on it to open it in the Canva editor.
- Use the Generate button: You can use Canva’s AI tool to generate a template based on your description.
- Click on a template: There are templates already on the screen, which you can readily use. Scroll down to see more, and just click on one that you like.
- Customize the template: You can now start customizing the template to suit your preferences. You can edit every part of the template, such as the colors, texts, images, and more.
Step 4: Customize Your Design
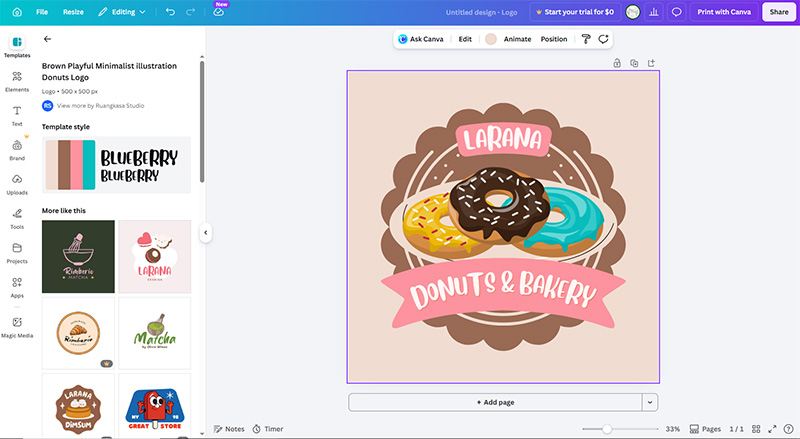
Now that you’re inside the Canva editor and have found a template, you can begin customizing your design. Here’s what to do:
Explore the Canva Editor
- Left Sidebar: You’ll find a vertical sidebar with options that include Elements, Text, Brand, Uploads, etc. Use these to modify your design.
- Canvas area: the center part where you’ll create your design.
- Toolbar: the toolbar at the top offers options for editing your design.
Ditch Canva, Get the Real Deal
Try unlimited design risk-free & get every custom graphic done for you


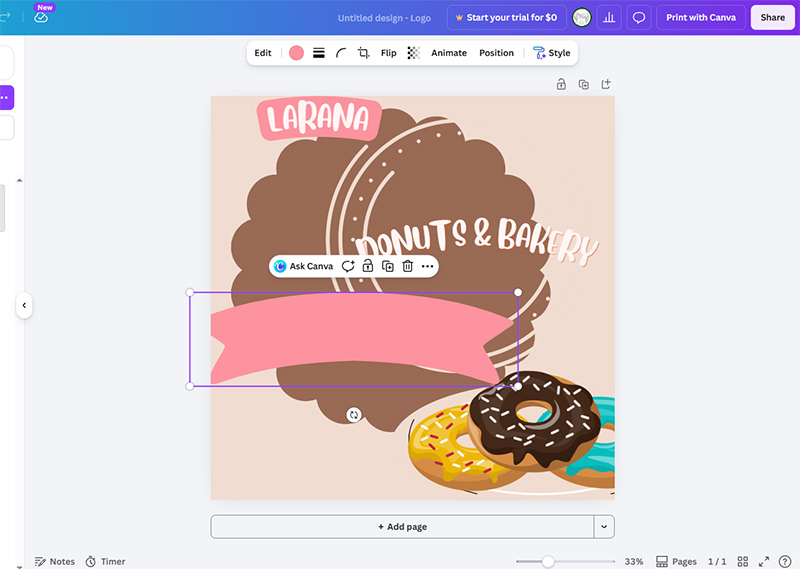
The Editing Elements
- Selecting elements: click on an element within the template to select it. This can be an image, a text box, or an icon to select for editing.
- Modifying elements: when you select an element, you can modify it using these tools. After clicking on the text box, you can edit it simply by typing.
- Moving elements: click on an element to drag or reposition it within the canvas.
How to Add New Elements
- Access “Elements”: click the Elements tab in the left sidebar.
- Browse categories: choose from Shapes, Icons, Illustrations, and others.
- Add elements: click on an element to add it to your design. You can then modify it, reposition it, or customize it.
How to Edit Text
- Text customization: Click on the text box, then delete or modify the text.
- Text formatting: Use the top toolbar to format your text. You can also edit, resize, or change the font colors here.
Step 5: Upload Your Images

You can also use your own images for your design. To do this, follow these steps:
- Click “Uploads” in the left sidebar.
- Upload your photos: click on Upload files or Record yourself, then choose your images from your device or take a video of yourself.
- Add the image to your design: drag and drop your uploaded image onto your design. Resize and reposition as needed.
Step 6: Edit and Arrange the Design Elements
Move elements around to find the best layout and edits. The following can help you:
- Position: drag the elements around until you find the best location.
- Resize: drag an element by its corner to resize it.
- Edit: click on an element to access the editing options at the top toolbar.
- Image edit: adjust filters, brightness, or transparency.
- Text style: edit the font, size, color, or add effects to the text boxes.
- Customize shapes: change shape properties, gradients, colors, and more.
Step 7: Preview and Save
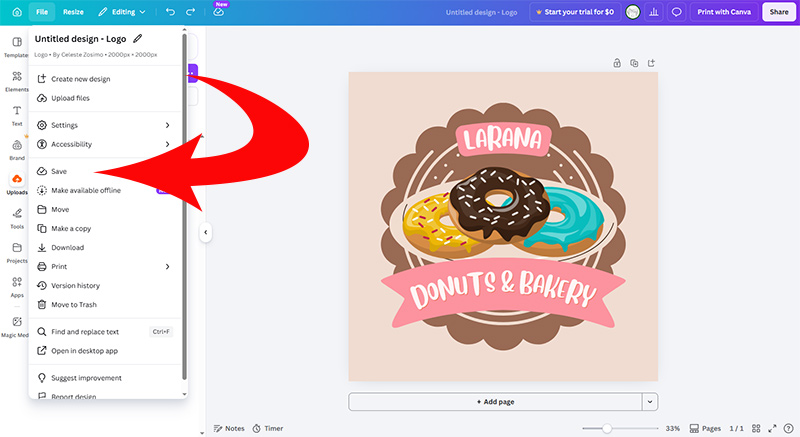
Once you are satisfied with your design, you can now preview it. Follow these steps:
- Preview: click Preview to see your design before finalizing it.
- Download: click Download if you’re happy with the design.
- File Type: choose your file type (PNG or PDF).
- Quality: choose from standard or high-quality.
- Save: click Download to save your design.
Step 8: Share Your Design
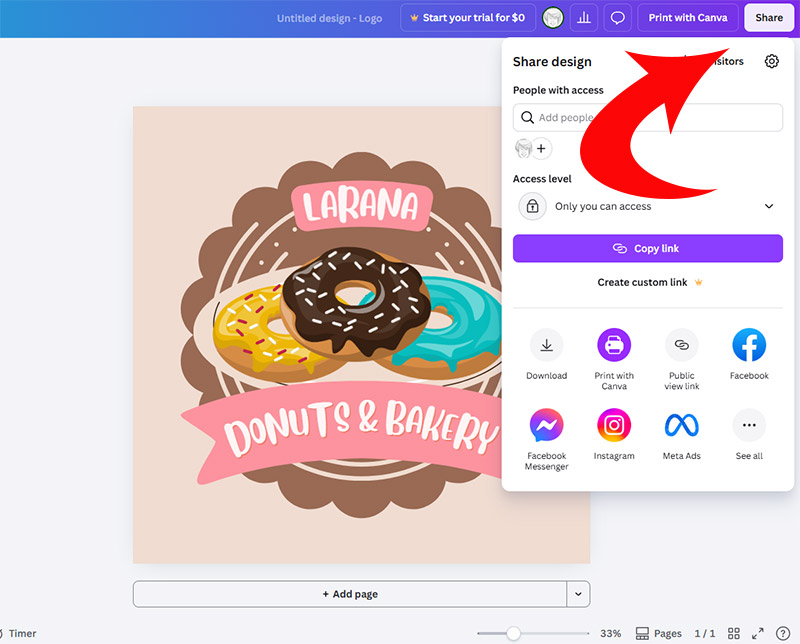
After you finalize your design, it’s time to show it to the world. Click on the Share button and pick your sharing method. You can share it via email, social media, or by generating a link.
Exploring Canva’s Features
Templates
Canva has user-ready templates that are ideal for quickly starting your creative projects. These templates can give your designs a professional look, even if you’re just starting out.
Customizing Your Designs
You can easily personalize your designs by changing fonts, colors, and images to suit your projects. This allows your creations to be distinct and tailored to your specific needs. Canva’s new Style Match feature even adapts graphics to your brand’s colors and layout automatically.
Using Canva’s Text Tools
Canva’s diverse font styles, sizes, and effects can enhance your graphics and make your message clear and eye-catching. With AI-powered text suggestions, you can now generate polished copy that fits your design instantly.
Incorporating Canva Elements
You can add depth to your designs with Canva’s massive shapes, icons, and illustrations library. These can help transform a simple design into something truly unique. The latest AI video tools also let you turn images or text prompts into short, dynamic clips, adding motion to your visuals.
Collaboration
Canva’s collaborative tools allow you to share and gather feedback in real time, making collaboration with your team members more efficient. With Canva AI 2.0, teams can co-create designs faster by generating editable layouts from a single prompt.
Saving and Exporting
Canva lets you save and export your work in various formats. These ensure your designs are ready for print, web, or social media. The new Offline Mode means you can keep working even without internet access, with changes syncing once you reconnect.
Canva Pro Features
Canva Pro offers features that let you do more, including premium images and editing tools. These upgrades can take your design to the next level. Pro users also gain access to Magic Insights, which turns raw data into charts and explanatory text, and the expanded Print Shop, now offering 40+ new physical products.
Final Thoughts
This how to use Canva for beginners guide will help you start designing your graphics quickly and easily. It can be an enjoyable experience as you explore and experiment with colors, fonts, shapes, and many other design elements.
However, if you find all these to be time-consuming and laborious, there’s always Penji to create all your graphic design assets for you.
All you need to do is write your project brief; our talented designers will handle it. Click on this link to watch our demo video, and click here to get the design started.
FAQs
Canva offers beginners to create their own visuals, while professional graphic design subscription services like Penji provide custom, on-demand creative work crafted by expert designers.
Design-as-a-service refers to platforms that offer to create designs for you for a monthly subscription fee. On the other hand, Canva provides DIY graphic design tools that you use yourself.
For many beginners, Canva is sufficient for their design needs. However, as your business grows, it will need specialized, original visuals that only experts in graphic design subscriptions can provide.
About the author

Celeste Zosimo
Celeste is a former traditional animator and now an SEO content writer specializing in graphic design and marketing topics. When she's not writing or ranking her articles, she's being bossed around by her cat and two dogs.
Table of Contents
- What Graphic Design Services Does Canva Offer?
- How Does Canva Help with My Design Needs?
- Step 1: Sign Up and Log In
- Step 2: Select Your Design Type
- Step 3: Choose Your Template
- Step 4: Customize Your Design
- Step 5: Upload Your Images
- Step 6: Edit and Arrange the Design Elements
- Step 7: Preview and Save
- Step 8: Share Your Design
- Exploring Canva’s Features
- Final Thoughts
- FAQs