
PowerPoint is a well-known software for creating presentations. But little do people know PowerPoint also does a bang-up job in creating eye-catching posters. Learning how to make a poster in PowerPoint is easy. Follow this seven-step guide on how to make posters in PowerPoint.
1. Open PowerPoint
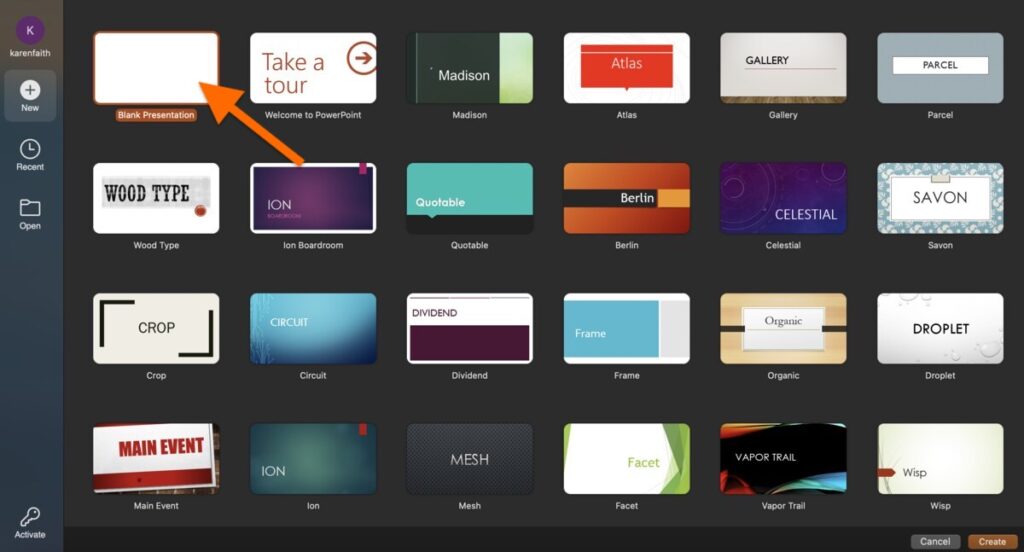
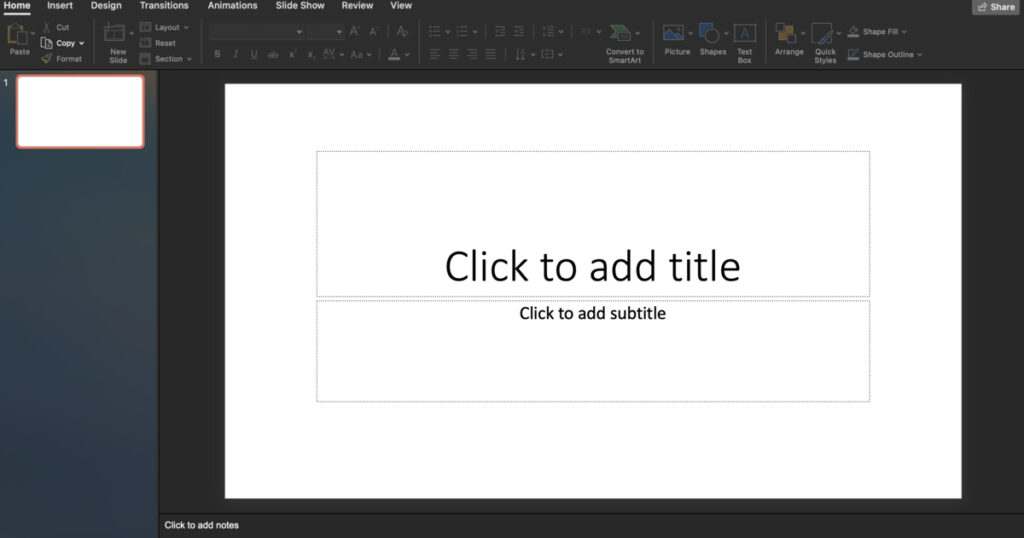
Open PowerPoint, click the Blank Presentation option or choose a poster background template. Let’s start with a clean slate for this ‘How to make poster in PowerPoint’ guide.
2. Set poster size
Depending on the purpose of your poster, you need to set the proper poster size to ensure the quality is spot on. Here are the most common poster sizes to guide you:
- 27 by 40 inches – This is the largest poster size that is best for movie posters
- 24 by 36 inches – Next to the extra large poster size, this is a large-sized poster that fits in outdoor advertising spaces, events, or retail stores
- 18 by 24 inches – This is a medium-sized poster that can still grab attention when displayed indoors or outdoors
- 11 by 17 inches – This is the smallest poster size on the list. You can choose this size when putting your posters on street posts, store windows, bulletin boards, or public bathrooms.
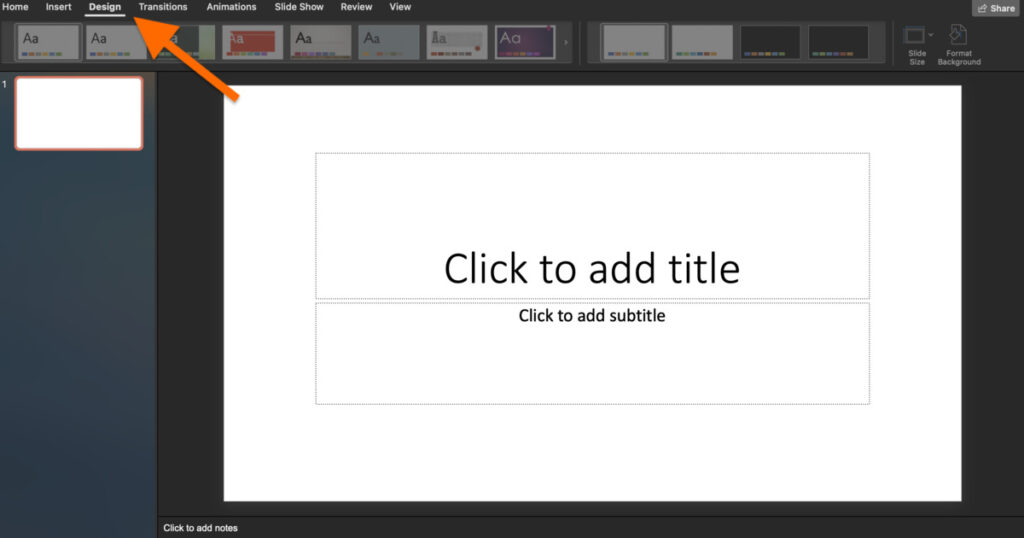
Go to the Design menu at the top toolbar.
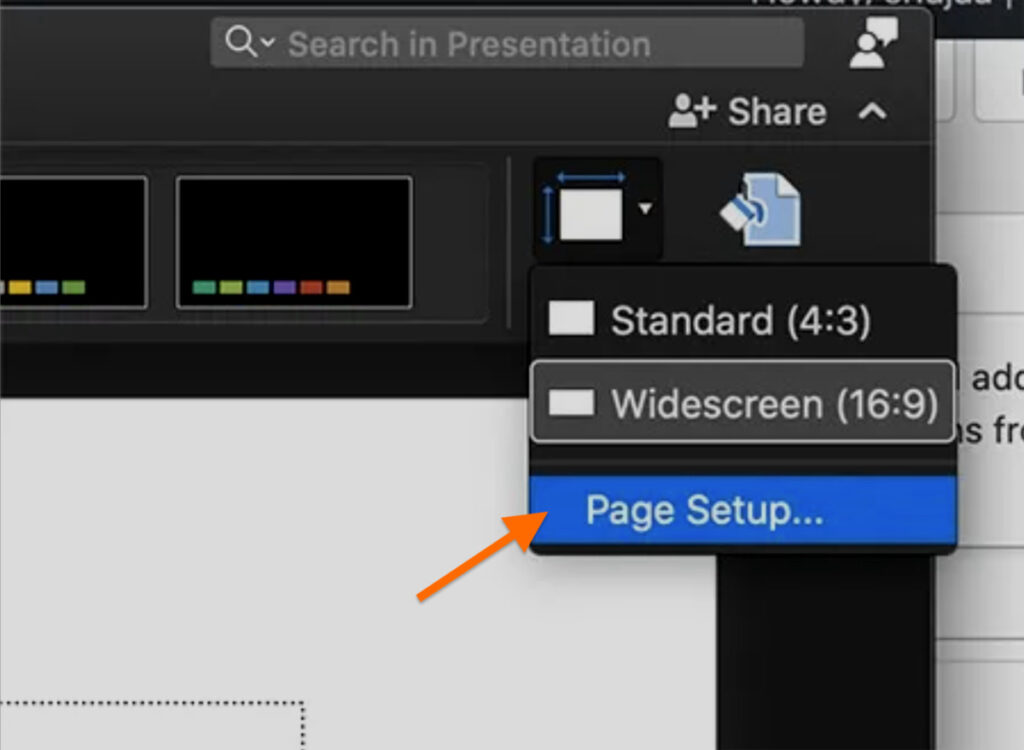
Click the drop-down arrow of the Slide Size menu, and click Page Setup. Choose Custom from the drop-down menu and enter your preferred poster dimensions.
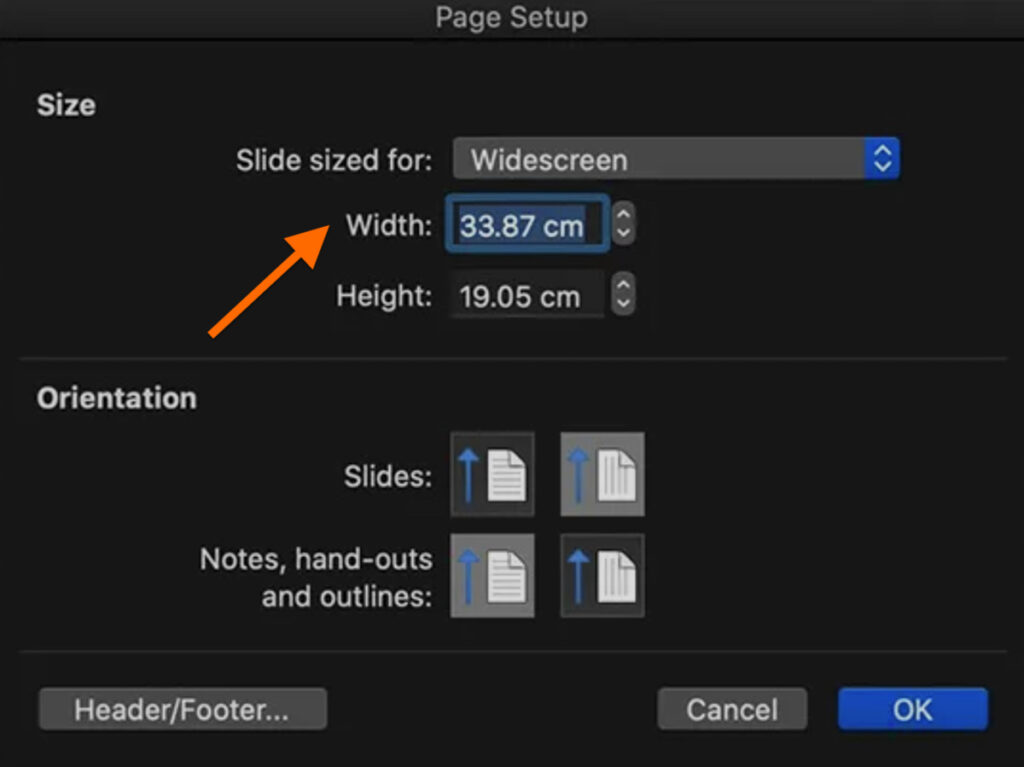
Tip: Most poster sizes are in portrait mode rather than landscape mode, which means they’re taller instead of wider.
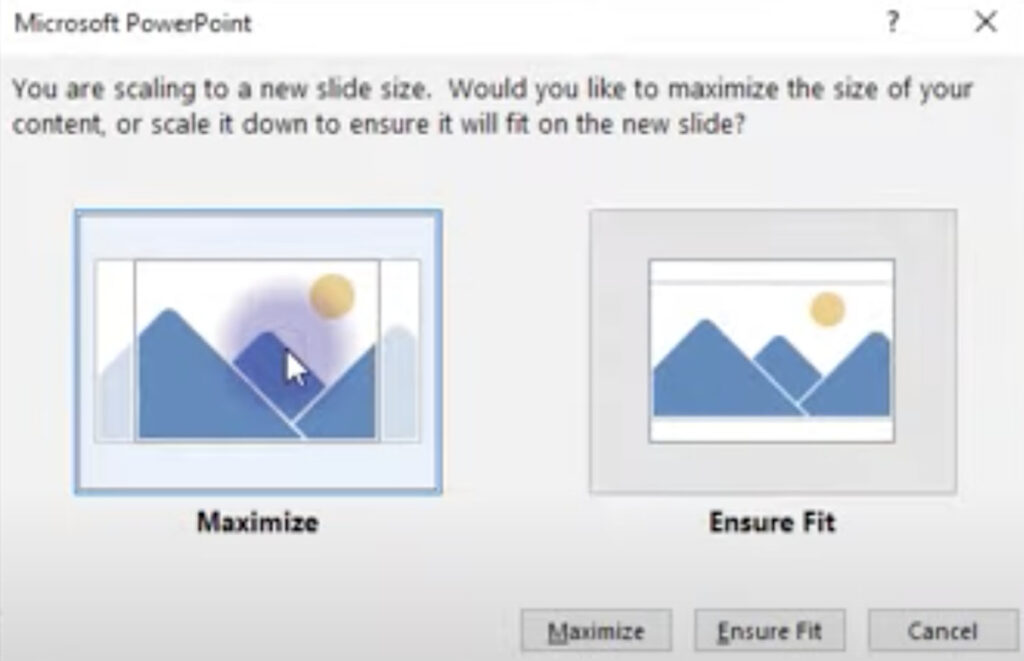
If you already have content on your slide, a pop-up will ask if you want to scale up or down. You will be asked to choose between Maximize and Ensure Fit. Select Maximize to scale up and ensure the text is legible enough for the new size.
3. Add images, background, logos, etc.
If you’re not choosing from the PowerPoint poster templates, prepare and save your poster design details on your computer. Add the image and other design elements by dragging and dropping them from your folder to PowerPoint’s design interface.
Tip: When using a background, ensure it doesn’t compete for attention. Choose a solid tone or simple gradients to make the essential poster details pop. Also, select a background color that complements your font well.
Posters are relatively larger than presentation slides. That said, check if your saved images, icons, and backgrounds are large enough to prevent compromising the printed quality. Ensure the images have a DPI of at least 150. If you’re pulling images online, note that these aren’t large enough for poster printing. And the outcome might come out pixelated.
Tip: Drag and drop all design elements on your empty canvas and adjust later. It’s easier to put all visual components and move them around to areas you deem fit.
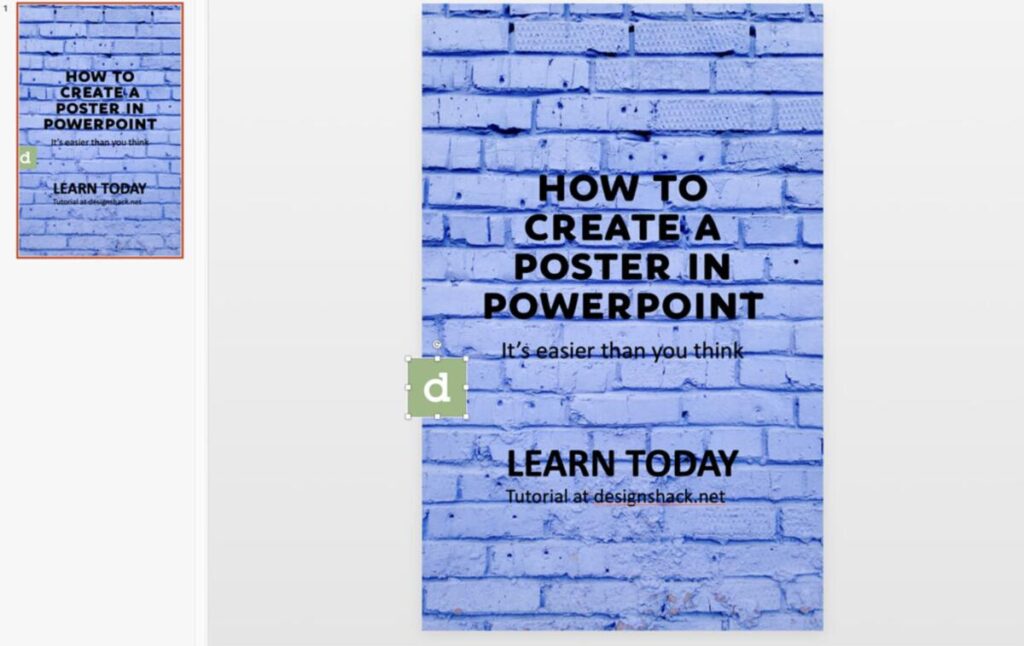
4. Add text
The next step in this ‘How to make poster in PowerPoint’ guide is to add text. Prepare your text beforehand so everything is ready and good to go. If you’re satisfied with the design layout, carefully considering the text placement is crucial. This will help guide the readers from the most vital information to the least.
Here are a few reminders when adding text to your poster in PowerPoint:
- Keep the copy concise
- Headings should appear the largest on your poster
- Consider a bullet-style format for good structure
- Choose a straightforward sans-serif font for legibility
- Go for 20 percent text, 40 perfect figures/symbols, and 40 percent space
- Make sure the text is legible from around five to seven feet away
- Leave some room around your texts
- Avoid using all uppercase letters
- Combine bold and italics to emphasize words/phrases/headings
- Limit combinations to not more than two typefaces
Here is a poster font size guide:
- Headings must be 85 pt
- Subheadings must be 36 pt
- Body text must be 24 pt
- Captions must be 18 pt
- Authors must be 56 pt
For your text to be legible, follow these pointers:
- Use 30 pt to be readable from six feet
- Use 48 pt to be readable from 10 feet
- Use 60 pt to be readable from 12 feet
- Use 72 pt to be readable from 14 feet

Click the Text Box icon and type your heading, subheading, body text, and the rest of the copy.
5. Choose colors
Of course, you want your poster to grab attention, and adding colors will give your poster life and vibrance. You might need to skip this step if you’ve chosen a custom design.
However, if you’re customizing your poster’s background colors, follow these tips:
- Limit the combination to two to three colors to prevent your poster design from looking chaotic
- Go for a lighter color if your text color is darker and vice versa
- Create contrast between the images and texts
- Avoid bright color combinations
6. Make the final adjustments
After dragging and dropping the images, typing the copy, and arranging the layout, it’s time to make the final adjustments. Move the elements around and review the structure from top to bottom. Ensure reading is a breeze when putting yourself in your audience’s shoes.
7. Export and print
The last step in learning how to make posters in PowerPoint is to export the file and print the poster. Depending on how you’ll distribute the poster, you can select a safe file format: PDF. If you only print the posters, choosing PNG over JPG is better for larger images. If you’re working with virtual teams, PDF files allow you to easily share files online.
Need compelling poster designs? Subscribe to Penji for unlimited designs and revisions at fixed monthly rates! Sign up now for a 15 percent discount.