Many would think that stickers are something that only kids would enjoy having. But did you know that it can be one of the most lucrative businesses you can go into? According to Etsy, “stickers” is one of the best-converting keywords of 2022. Yes, there is a huge demand, so now, we will show you how to design stickers with these easy-to-follow steps. Let’s go!
Step 1: Identify Your Goals

Before starting the design process, you must know your purpose for creating stickers. You also need to know who you are designing for to ensure you get the best results. Is it to promote a brand? To spread awareness about an advocacy? Understanding your goals and audience will lead you to better design choices.
Step 2: Brainstorm Ideas

You can now think of ideas and concepts for your stickers. Choose the colors, styles, themes, and fonts that align with your objectives and resonate with your audience. You can draw rough sketches, whether on paper or a design software.
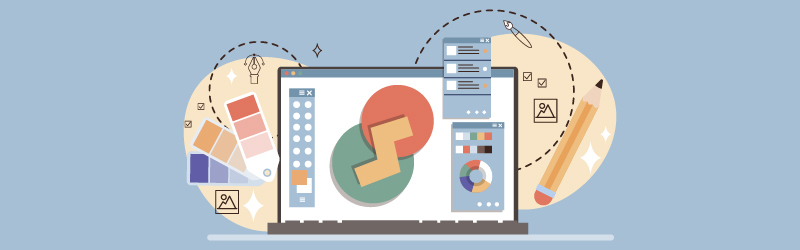
Step 3: Choose Your Design Software

Select the design software you’re going to use. For beginners, Canva is an excellent option, while the more advanced designers will find Adobe Photoshop a comprehensive tool. Other options include GIMP, Adobe Illustrator, or CorelDRAW.
Note that some software have premium plans, while there are those that you can use for free. Consider your budget in choosing your design software.
Step 4: Prepare Your Canvas
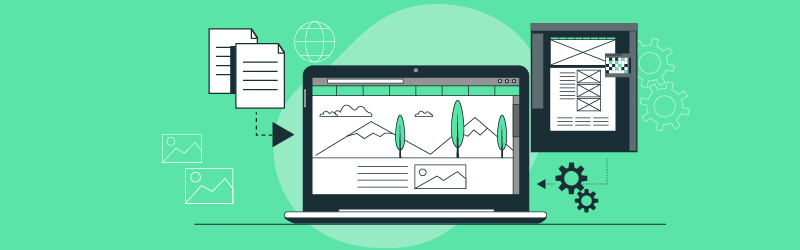
After choosing your design software:
- Set up your canvas using the correct dimensions for your sticker designs.
- Click here for a complete guide to sticker sizes.
- Set a high resolution, around 300 DPI or more, to get the highest quality for your designs.
Step 5: Add Your Design Elements
For the fun part, add your design elements. The following are the most common design elements you will need:
- Background: a color or pattern that will complement your design.
- Images: the main element of your design. This can either be a picture or an illustration that aligns with your goal and audience.
- Colors: choose a consistent color palette that aligns with your goal and audience.
- Text: go for readable fonts. Make your text short and concise. Avoid cluttering to make your design easy on the eyes.
Step 6: Arrange Layout and Composition
Arrange the design elements to find the best layout and composition. Make sure to have the right visual hierarchy to get the most essential assets to stand out. Take note of balance, alignment, contrast, size, and color to establish a clear and cohesive composition.
Step 7: Review and Get Feedback

Take a step back and look closely at your sticker design. You may want to ask others for feedback that can help you improve your design more. Apply the necessary improvements and check for readability and impact.
Step 8: Finalize Your Design
Once you are happy with your sticker design, you can now save it. Export it in any format you want, such as PNG, which will preserve transparency if needed.
Step 9: Print Your Design

You can print in your home or office or use professional printing services to do it for you. If you choose to print your own, the following are the most common types of sticker papers:
- Vinyl: suitable for indoor and outdoor use, making it the ideal paper for bumper stickers and outdoor signs.
- Matte: has a non-reflective surface and a smooth finish suitable for labels, wall decals, or planner stickers.
- Clear: this is transparent and ideal for instances where you need the background to show through. This is an excellent choice for window decals, product packaging, and others.
- Glossy: if you’re looking for that shiny and reflective finish, this is the sticker paper you need. You can use it for colorful designs such as product labels, photo stickers, or promotional stickers.
- Kraft: has a brown color that gives it a rustic feel. This is the ideal paper for vintage designs, providing a handmade appeal.
Take note that when choosing your sticker paper, you need to consider several factors. You need to think about the intended use for your sticker, the printer you’ll be using (laser or inkjet), and the finish you want (matte or glossy). You can experiment with different papers to get the look you want.
Step 10: Cut and Enjoy!

After printing, you can now cut your stickers, use them, or package them for selling. This is a pretty straightforward process, so make sure that you enjoy the process.
Final Thoughts
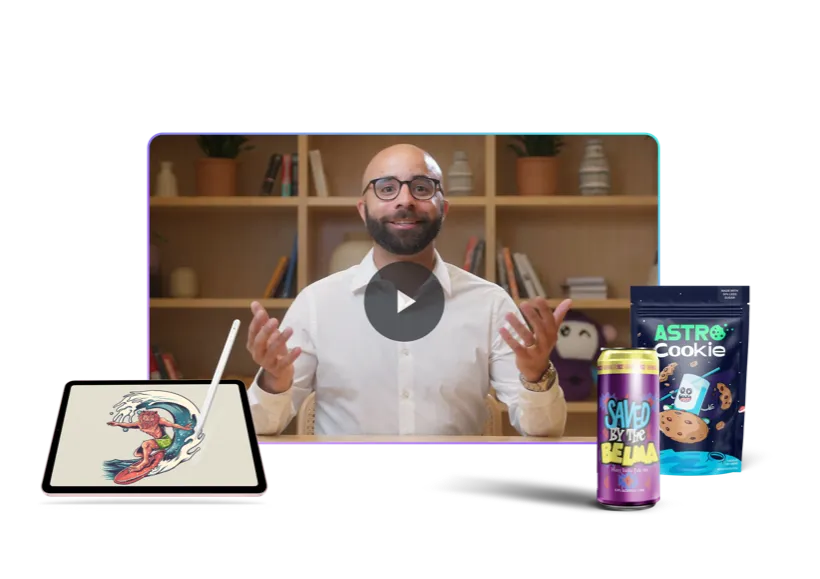
This guide on how to design stickers is easy to follow and can be useful if you want to turn your hobby into a side hustle. Stickers have a high demand, so start designing now. You can also work with Penji if you wish to high-quality sticker designs for your business.
Watch our demo video here to learn how our platform works. Get our professional designers working for you by clicking this link.
About the author

Celeste Zosimo
Celeste is a former traditional animator and now an SEO content writer specializing in graphic design and marketing topics. When she's not writing or ranking her articles, she's being bossed around by her cat and two dogs.
Table of Contents
- Step 1: Identify Your Goals
- Step 2: Brainstorm Ideas
- Step 3: Choose Your Design Software
- Step 4: Prepare Your Canvas
- Step 5: Add Your Design Elements
- Step 6: Arrange Layout and Composition
- Step 7: Review and Get Feedback
- Step 8: Finalize Your Design
- Step 9: Print Your Design
- Step 10: Cut and Enjoy!
- Final Thoughts