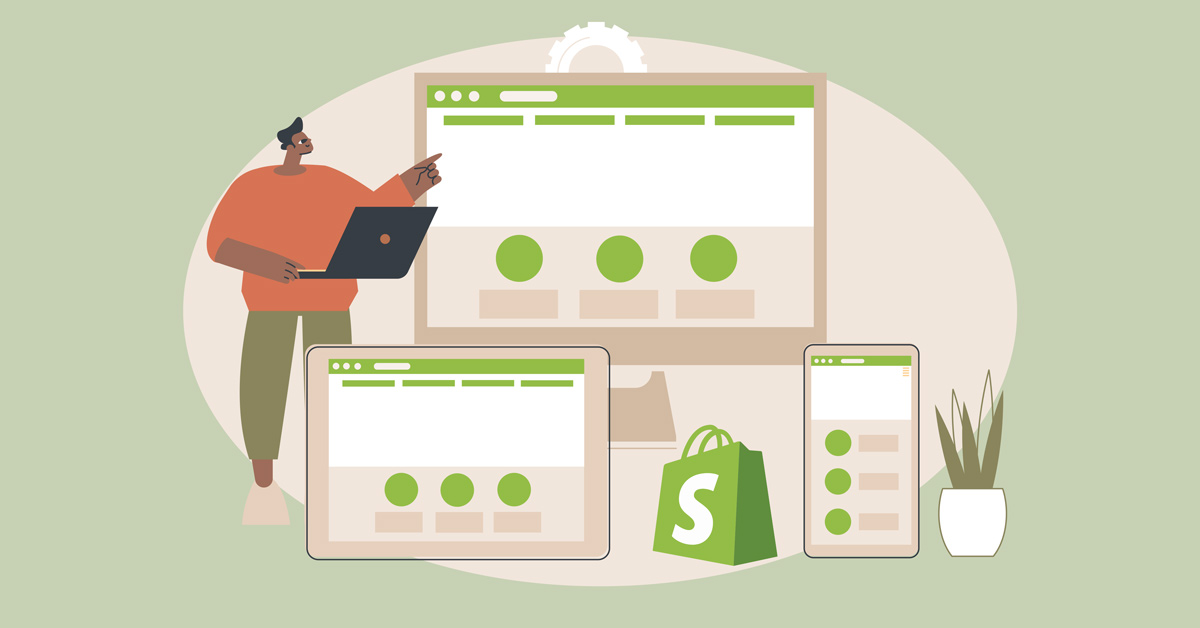
The eCommerce industry is highly competitive, and it is growing fast. If you’re an online entrepreneur, there is one effective way to keep up with the competition. A visually appealing and user-friendly online store can help your business succeed and grow. Shopify offers plenty of themes that allow merchants to create stunning storefronts. In this step-by-step guide, we will answer your question about how to customize a Shopify website. Whether you are a new or an experienced merchant, this article will equip you with the knowledge and skills to create an excellent Shopify website.
Step 1: Study the Different Shopify Themes

Before starting the customization process, you must have a solid understanding of Shopify themes. A theme is a library of files that determine the overall look of your online store. Themes control your Shopify website’s layout, design elements, colors, typography, and overall structure.
Shopify offers free and paid themes with unique features and design elements. Exploring the themes available will help you pick the right one for your online store. When choosing a Shopify theme, you must consider your target site visitors and your products or services. Themes cater to various categories, ensuring users pick the most suitable themes to launch their online storefronts.
Step 2: Choose the Right Theme for your Shopify Store
Choosing a suitable theme is the next step in customizing the Shopify website. You must consider your target audience, products or services, branding, and the overall look of your website. Luckily, Shopify offers different themes in various categories, such as food, fashion, art, electronics, etc.
Explore the Shopify themes available and consider other factors, including responsiveness, customization options, and third-party integration capability.
Once you’ve decided on the theme, you can preview it to understand better how it will look as your Shopify store. Test the effectiveness of navigation menus, product pages, and overall user experience. In addition, check the level of support the developer provides because it can be helpful if you need assistance in the future.
Step 3: Explore the Customization Preferences in Shopify Themes
Shopify provides an intuitive customization interface that lets you tweak various theme elements. And you can do that even without any coding skills!
Explore the customization options by accessing the theme editor to change the theme settings. You can change the colors, typography, and general layout. Then, you can further edit specific sections of your store, such as the header, footer, navigation menus, product pages, and more.
Step 4: Customize Your Shopify Website
This is the most exciting step. However, creating a backup of your theme is a good idea before customizing. It would be easier to restore it if anything goes wrong during the process. Shopify lets you duplicate your theme to make changes without affecting your online store.
Once you have a backup, start working on the desired changes in the theme editor. Customize the colors, fonts, and overall layout to match your niche and create a relevant look and feel. You can try other options and combinations until you find the design that best aligns with your brand identity.
Step 5: Understand the Language of Shopify Themes: Liquid Markup
Shopify uses Liquid Markup, an open-source language created by Shopify and the backbone of Shopify themes. It is a dynamic and flexible language that helps users manipulate and display data in the templates.
Your background on Liquid can give you an edge in more advanced customization of Shopify themes. Some elements that help a solid understanding of the language include modifying product page layout, creating custom sections, and more.
Step 6: Customize Colors and Typography
The colors and typography of your online store are essential in creating a visually appealing brand identity. In the theme editor, you can seamlessly change the colors of particular elements, such as the background, text, buttons, and links. Likewise, you can customize the typography by choosing different fonts for headings and body text. Aside from that, consider the readability of the fonts you choose and their compatibility with other devices and browsers.
Step 7: Add and Edit the Navigation Menus
Navigation menus are essential in guiding visitors in exploring your Shopify website. Fortunately, you can add, remove, and rearrange menu items in the theme editor. In addition, you can create dropdown menus to organize your navigation structure for an improved user experience.
Step 8: Customize the Header and Footer
Your online store’s header and footer sections are prime real estate for displaying important information such as your logo, contact details, social media links, and privacy policy. You can customize these sections to align with your branding and design preferences.
Step 9: Modify the Layout and Structure
You can also modify the template structure of your theme. Shopify allows you to access and edit your theme’s underlying HTML and Liquid files.
Before making any modifications, it is essential to have a basic understanding of HTML and Liquid markup. This will help you navigate and modify the templates effectively. Make sure to create a backup of your theme before making any changes to avoid unintended consequences.
Step 10: Add and Edit the Sections in Your Shopify Theme
Sections are reusable and customizable blocks of content that allow you to create rich and dynamic pages in your Shopify store. Add, remove, and rearrange sections in the theme editor to build unique and engaging layouts.
Each section represents a different type of content, such as featured products, testimonials, banners, or collections. Utilize sections to showcase your products or services in an appealing and organized manner. Experiment with different layouts and content combinations to create a visually captivating storefront.
Step 11: Optimize the Mobile Responsiveness of Your Shopify Theme
Remember to optimize your Shopify store to work flawlessly on mobile devices. But don’t worry. In the theme editor, you can preview and customize your store’s appearance on different devices and screen sizes.
Ensure the layout, images, and text adjust seamlessly to fit smaller screens. Please pay attention to the mobile navigation menu; it should be easy to use and navigate on touchscreens. Test your store on various mobile devices to ensure a consistent and user-friendly experience for your mobile customers.
Step 12: Integrate Third-Party Apps and Plugins into You Shopify Theme
Shopify provides many apps and plugins to enhance your online store’s functionality and user experience. In the theme editor, you can integrate these third-party extensions seamlessly without any coding knowledge.
Consider the specific needs of your business and visit the Shopify App Store for apps that can help you achieve your goals. Whether adding live chat support, social media integration, or advanced analytics, an app can meet your requirements.
Step 13: Test and Preview Your Customizations in Your Shopify Store
Once you have made all the desired customizations, testing and previewing your changes before making them live is essential. Shopify provides a preview mode that allows you to see how your store will look with the customizations applied.
Test various scenarios, such as adding products to the cart, navigating through different pages, and completing the checkout process. Ensure that everything functions as expected and that no visual or functional issues could deter customers from completing a purchase.
Step 14: Troubleshoot Common Issues while Customizing Your Shopify Theme
While customizing your Shopify theme, you may encounter some common issues or challenges. It’s essential to be prepared and equipped with troubleshooting strategies to overcome these issues.
Common issues could include broken layouts, missing images, conflicting styles, or unexpected behavior. Keep a backup of your theme at each customization stage, and be ready to revert to earlier versions if needed. Use the Shopify support resources, forums, and community to find solutions to specific problems you encounter.
Step 15: Publish Your Customized Shopify Website
Once you are satisfied with your customizations and have thoroughly tested your store, it’s time to publish and make your customized theme live. Shopify lets you post your changes with a single click, making them visible to your customers.
Before going live, double-check that all the necessary content, images, and functionalities are in place. Review your theme on different browsers and devices to ensure a consistent and seamless experience. Lastly, communicate the changes to your audience and make any required adjustments based on feedback or analytics data.
FAQs
What is Shopify customization?
Shopify customization is when you modify your website’s front or back end. This could include aesthetics, payment options and checkout process, website navigation, and more.
Can I fully customize my Shopify website?
Yes, you can customize your Shopify. Pick a theme and go to the theme editor to personalize settings, checkout, store design, etc.
Is Shopify easy to customize?
Yes, customizing a Shopify store is easy. You can use the theme editor to do it yourself. Alternatively, you can hire an expert to customize your Shopify website on your behalf.
How can I enhance the product pages in my Shopify theme?
Product pages are a critical part of your online store, directly impacting the conversion and sales process. In the theme editor, you can customize various elements of your product pages, such as images, descriptions, pricing, and add-to-cart buttons.
Add high-quality product images from different angles, detailed descriptions, and compelling call-to-action (CTA) buttons. More importantly, ensure that the layout and design of your product pages are consistent with the overall theme of your store. This will help build trust and attract customers to purchase and return to buy again.
Can I customize collection pages in my Shopify store?
Collection pages allow you to group similar products or services. It helps customers to browse and find what they want quickly. The theme editor le ts you customize the layout and design of collection pages to align with your brand identity.
You can add useful information such as product titles, prices, and ratings in a visually appealing and organized fashion. Add filters, sorting options, or search functionalities to enhance the browsing experience. Optimize the layout to showcase a more significant number of products without overwhelming the user.
Can I add Custom CSS to my Shopify theme?
Yes. If you have coding knowledge, you can take customization a step further by adding custom CSS to your theme. CSS, or Cascading Style Sheets, allows you to modify the appearance of various elements in your store.
In the theme editor, you can access the CSS editor and add custom styles to override the default theme styles. Use CSS to fine-tune the design, layout, and positioning of elements to achieve your desired look and feel.
Conclusion
By following this guide about how to customize the Shopify website, you can effectively personalize your Shopify store and become successful. Keep in mind that customization is an ongoing process. It is important to regularly evaluate and refine your website to stay competitive and adapt to the evolving eCommerce market.
Also, document your changes to keep track of the customizations you make. This will help you troubleshoot any issues in the future and quickly revert to previous versions if necessary. Acknowledge the impact of your modifications on website performance and loading speed. All these techniques will help improve your store’s loading speed and the overall user experience.
About the author

Rowena Zaballa
With a background as a former government employee specializing in urban planning, Rowena transitioned into the world of blogging and SEO content writing. As a passionate storyteller, she uses her expertise to craft engaging and informative content for various audiences.
Table of Contents
- Step 1: Study the Different Shopify Themes
- Step 2: Choose the Right Theme for your Shopify Store
- Step 3: Explore the Customization Preferences in Shopify Themes
- Step 4: Customize Your Shopify Website
- Step 5: Understand the Language of Shopify Themes: Liquid Markup
- Step 6: Customize Colors and Typography
- Step 7: Add and Edit the Navigation Menus
- Step 8: Customize the Header and Footer
- Step 9: Modify the Layout and Structure
- Step 10: Add and Edit the Sections in Your Shopify Theme
- Step 11: Optimize the Mobile Responsiveness of Your Shopify Theme
- Step 12: Integrate Third-Party Apps and Plugins into You Shopify Theme
- Step 13: Test and Preview Your Customizations in Your Shopify Store
- Step 14: Troubleshoot Common Issues while Customizing Your Shopify Theme
- Step 15: Publish Your Customized Shopify Website
- FAQs
- Conclusion