Are you looking to get that perfect close-up shot of your image in Figma but don’t know how to do it? Cropping in Figma is a breeze with this step-by-step guide. Whether you’re a new user or have some experience using this software, we’ll walk you through to help you achieve the best composition for your project.
Using the Crop Tool
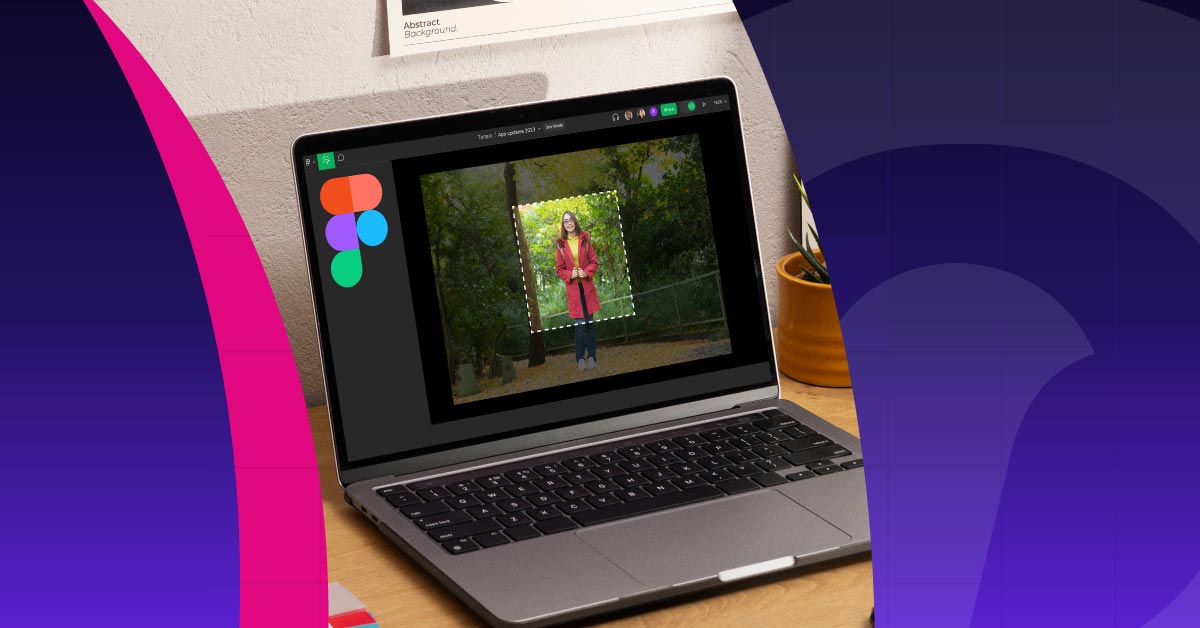
Figma’s most basic tool is the cropping tool. To use it, select the image you want to crop and click the Crop button in the toolbar. A set of handles around your image will emerge, which you can use to adjust the crop dimensions.

Hold those blue handles and position them to the area you want to crop.

Click on Enter on your keyboard to finalize the cropping.
Adjusting the Crop Dimensions
You can also adjust the crop dimensions by entering specific numbers in the Properties panel. Highlight the dimensions you want to change, then click Enter on your keyboard.

Using Masks
Another easy way to crop an image in Figma is to use masks. This allows you to hide certain areas of your image you don’t want to be seen. To use a mask, create a shape using the Shape tool on the upper left part of the toolbar. Use an Ellipse or a Rectangle and cover the part you want to keep.

Drag the shape down the list to place it at the back of the image.

Select the shape and the image, then click the Mask icon at the toolbar.

You can also right-click on the image and select Use As Mask from the pop-up menu. You can also use the shortcut Command + Option + M on Mac or Control + Alt + M on Windows.
Repositioning an Image
To reposition an image in Figma, click on the image and drag it to where you want to place it. You may also want to use the arrow keys on your keyboards to move the selected image.
Resizing an Image
To resize an image, select it and adjust its dimensions in the Properties panel. You may also use the blue handles by clicking and dragging one of the blue corner handles. Hold down the Shift key while dragging the blue handle if you want to resize the image proportionally.
Keeping the Aspect Ratio

To maintain your image’s aspect ratio, you can hold down the Shift key while dragging the crop (blue) handles. You may also use the Constraints feature in the platform. This lets you choose to constrain your image’s width, height, or both.
Cropping Complicated Shapes
If you want to crop an image using complex shapes, you will need to use a combination of tools. You may use the Ellipse, Slice, or Pen tools to get your desired shape. You can create custom shapes and then crop your image more precisely.
In this example, I used an image of a doghouse and used it as a mask. Make sure that the image you use has no background to have the shape of the object you want instead of just a rectangle or circle. You can remove the background of an image here.

Additional Figma Tools
Figma has other helpful tools you can use in connection with your cropping tasks. Below are a few:
Filters and Effects: Figma has built-in filters and effects that you can use on your images. These include adjustments for brightness, saturation, contrast, and blur. It also has drop and inner shadows to add visual interest and depth to your cropped images.
Content Fit: This Figma option lets you control how your image scales within its frame. You can select from Fill, Fit, Crop, or Scale to determine how your image will fill the frame while retaining its proportions (aspect ratio).
Image Replacement: Figma has a feature that lets you replace your existing image with a new one. The Replace Image feature allows you to replace an image without losing all your applied cropping, resizing, and editing settings.
Corner Radius: This setting lets you adjust the roundness of your image corners. Use the slider to create a subtle curve or a full-blown circle.
Why Image Cropping is Better with Figma

Image cropping is a fundamental task in refining your visuals, whether you’re a pro designer or an entrepreneur looking to DIY your designs. It involves taking out unwanted parts of an image to focus on a specific area. This is where you choose the part of an image that tells the most impactful story.
While you can find a multitude of software to crop your images, Figma has a non-destructive approach to the editing process. This means that your original image file remains the same when you use it to crop. This means there will be no permanent modifications to your original image.
This is one of the reasons Figma is a favorite among many designers, marketers, and business owners. It is an excellent platform for experimenting with a wide array of cropping options. It gives you the freedom to explore different cropping options to find the most suitable composition for your designs. All these can be done without damaging your original source file.
Work with Penji
While Figma has made cropping an image quick and easy, nothing is easier than having a professional graphic designer do it for you. Our unlimited graphic design service lets you send requests for all your visual assets, not just image cropping.
Watch a quick demo to learn more about what we’ll create for you.
About the author

Celeste Zosimo
Celeste is a former traditional animator and now an SEO content writer specializing in graphic design and marketing topics. When she's not writing or ranking her articles, she's being bossed around by her cat and two dogs.