Ever get bored of your basic word processor, like Microsoft Word or Google Docs? Scrivener may be just what you need.
We’ve all been there: it’s late. You’ve been busy all day and you have some ideas you have to get down on the page. A stark white screen stares back at you. That little blinking line taunts you, and you just can’t bring yourself to type.
Scrivener by Literature and Latte is one of many proposed solutions. Touting its use by many types of writing professionals, it promises an ideal way for writers to boost productivity and create great work.
Is Scrivener worth the money? In this Scrivener review, we’ll go over all the features it offers and help you decide if it’s right for you.
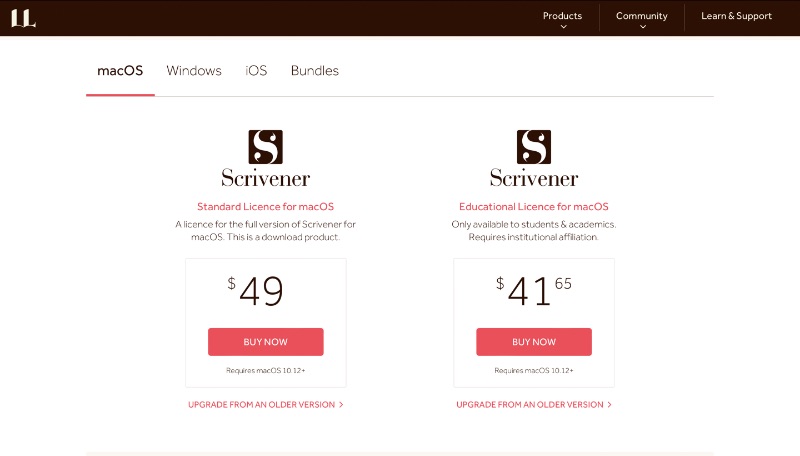
While there’s plenty of free writing software on the market, Scrivener’s tools for writers come at a price. Scrivener license fees vary depending on which version you plan to use.
- Desktop (Mac or Windows): $49 (one-time) for a full license.
- Education (Mac or Windows): $41.65 (one-time) for an educational license. Fully featured, but only available to students and academics.
- Mobile (iOS): $19.99 for iPhone or iPad. Requires Dropbox account for sync.
- Bundle (Mac and Windows): $80 for both licenses.
If you’re not sure if Scrivener is right for you, you can try out the program with a 30-day free trial.
Scrivener Review: Getting started
You can download the Scrivener app for Mac, Windows, or iOS directly from their website. For the desktop version, you can download and take advantage of the free trial, or pay upfront. The mobile app is a paid download.
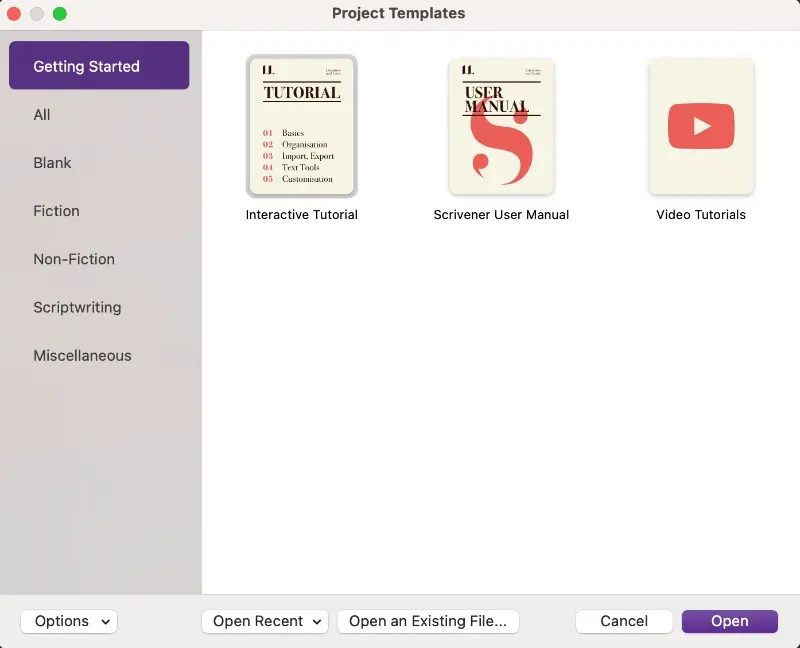
When you open it up, you’re greeted with three tutorial templates you can open to get started. These tutorials are organized in the form of Scrivener documents. In addition to reading instructions, they eliminate the learning curve by teaching you how to use Scrivener through the act of reading the tutorial.
Scrivener has a lot of features, and the tutorial goes through them all. It suggests setting aside an hour to read the whole thing. We’ll try to cover the basics in this article.
[in_content_ads gallery=”logos” logo=”on” title=”Need graphic design help?” subtitle=”Try Penji’s Unlimited Graphic Design and get all your branding, digital, print, and UXUI designs done in one place.” btntext=”Learn More” btnlink=”https://penji.co”]
Scrivener Review: Features

Scrivener’s layout can be broken down into four sections, which you can toggle for a distraction free experience. Here’s an overview of what each section can do.
1) Toolbar

The Scrivener upper toolbar includes a variety of options for changing your view. It adds pages and sections while navigating your document.
The bar in the center is a unique and convenient feature. It displays the title of your page at rest, a total word count when you hover over it, and becomes a search bar when you click on it.
You can toggle your layout or view your document in Compose mode, which eliminates distractions and lets you focus on churning out your work. You also have the option to view your folders as a list, a corkboard, or a continuous scroll.
The menu on the center-left lets you add and remove sections, attachments, and reference sheets. On the right, past the view modes, you can add bookmarks or export your work.
Compile
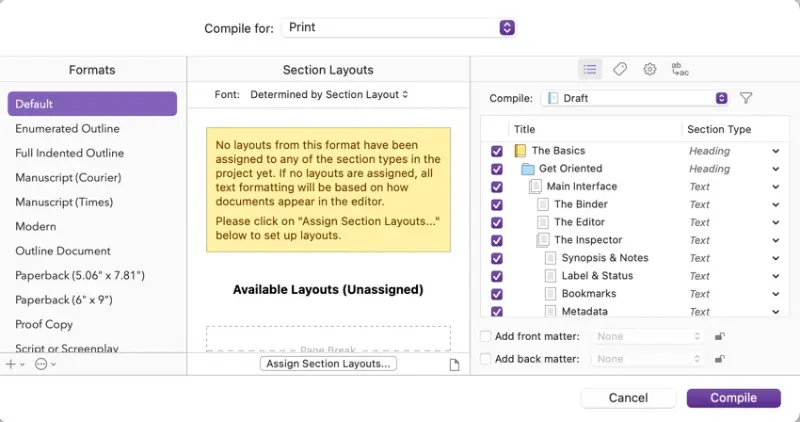
This menu appears when you click “Compile.” (If you don’t see labels in your toolbar, click anywhere on the toolbar while pressing Ctrl). It’s both a print and export menu with dozens of options for compiling your document. Handily select which parts of your document to keep, change layouts, and choose from a variety of styles.
One of Scrivener’s main selling points is its huge selection of import and export options. You can turn your work into plain text, rich text, a Word document, a Final Draft file, an ebook, and much more.
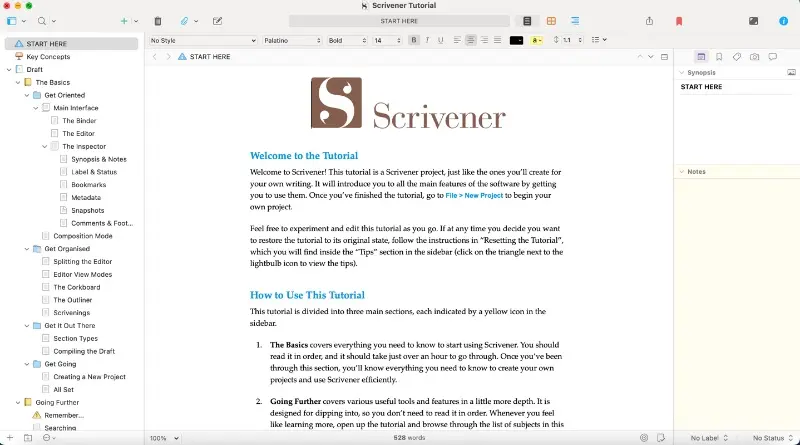
2) Binder
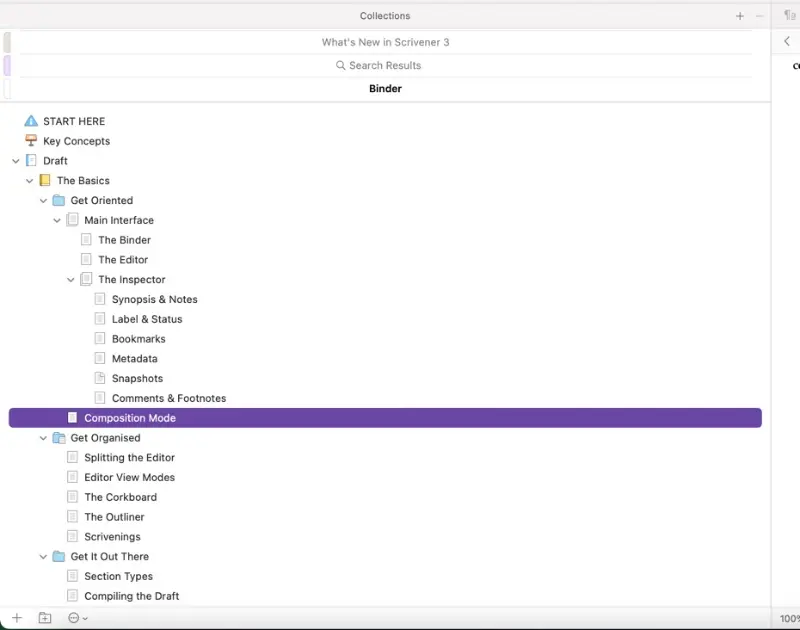
In the standard Scrivener layout, the left-hand side contains the “Binder,” an index of your document’s sections.
As you can see, Scrivener allows you to break down your document into subsections and give each section its own title. Your whole project will be saved collectively, but you can also save specific sections or groups separately.
On top of the “Draft” folder you place your work in, you can also create a “Research” folder. Here, you can import documents, images, or any other files you want to reference.
Documents you delete get sent to the “Trash” folder at the bottom of your Binder. They won’t get exported with everything else, but you can access and recover them if you need.
The menu at the bottom of the Binder lets you quickly add folders and documents. With the three-dot menu, you can add bookmarks, labels, and icons to your sections. When you add a label, you can access documents with that label separately using the upper “Collections” menu.
3) Editor
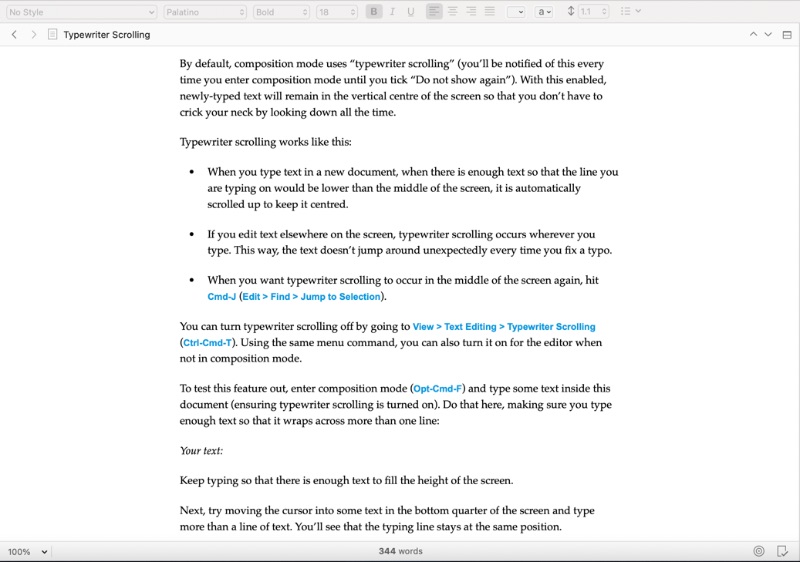
This is where the magic happens. This section should be the most recognizable, with standard word processing tools to change your typeface, text style, add bullets, highlights, etc.
The editor window itself is about on par with your average word processor. It’s a little less automated than some standard processors like Docs or Word. You may find it takes a few extra steps to use writing tools bullets, comments, or add and scale images.
Still, there’s a few nifty features to take note of. In addition to zoom and word count features, the bottom row lets you set a target word or page count, which displays as a meter. You can also toggle whether or not to include your current document when you export/print the full project.
One of Scrivener’s more unique and exciting features is the ability to view and edit multiple documents at once. Using the button in the upper right corner of the editor, you can open a second window below your current document and switch to another document in your project.
4) Inspector
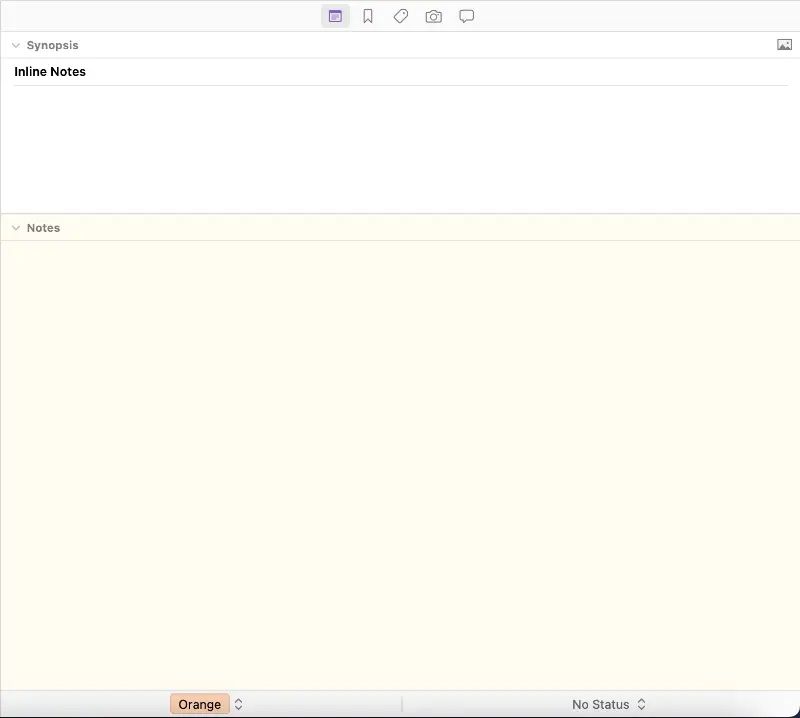
This Scrivener review tool, found on the right-hand side, can be toggled on and off using the button on the far right of the toolbar. It has five sections: Notes, Bookmarks, Metadata, Snapshots, and Comments & Footnotes.
Notes
Shown above, the Notes section includes a window to add a brief synopsis of your current document. You can also add notes separate from the document itself, which won’t be included when you export.
Bookmarks
Bookmarks allow you to connect relevant documents to each other. While viewing your current document, you can see bookmarked pages in this window, allowing you to review yet another document at the same time.
Metadata
The Metadata tab lets you view data related to your current document, such as when it was created and last modified.
Snapshots
These are saved backups of your file. You can store your document as-is, continue editing, and then compare it to previous versions.
Comments & Footnotes
Where the Notes tab contains separate notes, the Comments & Footnotes section compiles notes left in the document. If you have a longer document, it allows you to view all of your footnotes and comments in one place.
Conclusion: Is Scrivener worth it?
I went into this Scrivener review with mild expectations. I’ve seen so many word processing programs—even specialty programs like screenwriting software—do essentially the same thing. I didn’t expect this to be wildly different from the competition, and I was prepared to say it’s not worth the money.
To my surprise, I was kind of blown away by some of Scrivener’s features. Navigating huge projects has never been easier. You can import and export almost any type of file, and the folder breakdown is brilliant. There are tons of other cool features that feel like no-brainers now that I’ve seen them.
If you write as much as the average person, these features might be superfluous. But if you’re a career writer, especially if you work on long-form projects like essays, scripts, and books, Scrivener is the tool for you. The next time I have a big project, I might spring for the full version myself.
Final rating: 9.5/10 🥇