TLDR: Learn to use Canva for marketing design in this beginner’s guide by leveraging templates, customization, and AI tools to create stunning and effective marketing assets in a flash. If you want more unlimited designs, consider outsourcing with Penji.
Marketing design used to be a gated community. You either had the budget for expensive software and a graphic design subscription or you were stuck with Clip Art and good intentions.
Then there’s Canva. Canva has blown the doors off design and invited everyone to the party. If you’re a business owner, a scrappy startup marketer or even just someone wanting to uplevel your personal brand, design has now been democratized by Canva. It’s the ultimate sidekick that will take your wildest ideas and turn them into beautiful professional quality assets in record time.
In this tutorial we’ll be sailing the seas together. I’ll familiarize you with the dashboard, tools and we’ll be creating marketing assets that look like a million bucks.
1. Why Canva Works for Marketing
Before we dive into the pixels, let’s understand why Canva has become the go-to secret weapon for marketers everywhere. It’s not just about making things “pretty”—it’s about efficiency and impact.
- No Design Skills Necessary: The drag and drop functionality is easy enough even a toddler can use it!
- Everything In One Place: Social media posts. Flyers. Ads Websites Presentations Videos All on the platform.
- Low-Cost Investment: The free plan is a bomb! You can sign up for Canva Pro without breaking the bank for really powerful features.
- Team Collaboration: You can comment and edit in real time with others who share permissions to the design.
- Versatile: Create almost any design asset you need!
2. Getting Started with Canva
Let’s get started with set up and navigation so you can learn how to use it.
Step 1: Create an account
Head over to Canva.com and create your free account. You’ll need to decide if you want the free plan or the pro version. If you’re a serious marketer or business owner, definitely upgrade so you get pro features that save you time and give you more versatility in your designs.
Step 2: Explore the dashboard
When you log into Canva, you’ll see a dashboard that has multiple areas:
- Dashboard Area on Left Side: Check your projects, templates, discover new apps, etc.
- Working Area in Center: All your editing here
- Menu Bar on Top: Edit fonts, colors, etc.
Step 3: Familiarize yourself with the workspace
Start a blank design just to play around.
- Elements Tab: On the left, this is where you find shapes, graphics, photos, and videos.
- Uploads: Bring your own assets (logos, product shots) into the ecosystem.
- Text: Add headings, subheadings, and body text with a click.
3. Choosing the Right Template
One of the biggest mistakes beginners make is staring at a blank page. Don’t do it! Canva’s library is massive. Templates are your shortcut to success.
Popular marketing templates include:
- Social Media: Instagram Stories, Facebook ads, LinkedIn banners, Pinterest pins.
- Print: Flyers, brochures, business cards, posters.
- Digital: Email headers, infographics, slide decks.
Tutorial Tip:
- Type “Instagram Ad” into the search bar.
- Filter by style (e.g., “Modern” or “Minimalist”) to match your vibe.
- Select a design that catches your eye.
- Replace the placeholder text with your compelling offer.
4. Customizing Your Design
This is where you inject your DNA into the design. A template is just a skeleton; your brand is the soul.
Step 1: Set up your Brand Kit (Pro feature)
If you have Pro, this is a game-changer. Upload your logos, define your specific hex color codes, and upload your brand fonts. Now, every time you design, your brand assets are just one click away.
Step 2: Edit text
Typography matters:
- Hierarchy: Make your headline big and bold. Your subheading should support it, and body text should be smaller.
- Readability: Avoid script fonts for long paragraphs. Keep it clean.
- Copy: Keep it punchy. In marketing design, less is often more.
Step 3: Work with images
- Uploads: Drag and drop your product photos.
- Stock Library: Use Canva’s millions of stock photos if you don’t have your own.
- Effects: Try the “Background Remover” (Pro) to isolate products—it’s like magic.
Step 4: Add elements
Spruce up the design with icons, shapes, or lines to guide the eye. Use the alignment tools (found under “Position”) to ensure everything is centered or spaced evenly.
5. Canva Tools Every Marketer Should Know
To truly fly, you need to know what the engines can do. Here are the power features:
- Magic Resize: Need that Instagram post to be a Facebook Story? Click Resize, select your new format, and watch Canva adapt the design instantly.
- Content Planner: Schedule your posts directly to social media platforms from within Canva.
- Collaboration Tools: Share a link with your team so they can add comments or make tweaks.
- AI Features: Use Magic Write to generate copy or Magic Edit to swap out objects in photos using AI.
- Animation: Add simple animations to text or elements to turn static images into eye-catching videos.
6. Step-by-Step Tutorials (Hands-On Practice)
Let’s get our hands dirty. Here are four mini-tutorials to build your confidence.
Create a Social Media Post
- Search for “Instagram Post” in templates.
- Select a design that features a quote or a product showcase.
- Click the text and type your update.
- Change the background color to one of your brand colors.
- Click Share > Download > PNG and post it!
Design an Email Header
- Search “Email Header.”
- Choose a template that isn’t too cluttered.
- Insert your logo on the left or center.
- Add a catchy tagline or call to action (CTA).
- Save as a JPG (smaller file size loads faster in emails).
Build a Flyer
- Search “Flyer” (Portrait).
- Pick a layout that balances image and text.
- Upload a high-quality image of your event or product.
- clearly list the Who, What, Where, and When.
- Export as PDF Print for the highest quality.
Make an Infographic
- Search “Infographic.”
- Select a template with a timeline or list structure.
- Replace the placeholder charts with your actual data.
- Use icons to represent key points visually.
- Keep text brief—let the visuals tell the story.
7. Exporting and Sharing Designs
You’ve built it. Now let’s ship it.
Step 1: Download options
- PNG/JPG: Best for websites and social media.
- PDF Standard: Good for emailing documents.
- PDF Print: Essential for physical printing (flyers, business cards).
- MP4/GIF: Use these for anything with animation or video.
Step 2: Optimize for platform
Ensure you are downloading at the right resolution. For print, you want high quality. For the web, you might want to compress files slightly so your website loads fast.
Step 3: Share directly
You can publish directly to Instagram, LinkedIn, or Facebook without leaving Canva. You can also generate a “View Only” link to show a client your work without letting them mess it up!
8. Beginner Tips to Elevate Your Designs
- Font limits: Use no more than two fonts (one for header, one for body)
- White space: Don’t fill every inch
- Text contrast: Make sure text is readable on design background (dark on light and vice versa always works)
- Mobile ready: Most social viewing is mobile so make sure text is phone friendly
- Save templates: Good designs can’t be repeated often enough so save for use in later campaigns
9. Mistakes to Avoid
Text overload: Don’t expect people to read a lot on an Instagram post graphic
- Blurry photos: Always use hi-res photos. Pixelated images are ugly
- Dimension disaster: Never use a square post design for a YouTube channel header. It will get cropped in ugly ways.
- Forgetting to proofread: Canva doesn’t have a Word perfect spellcheck so make sure your text is right!
Is Canva Enough?
In terms of DIY, yes. But there are limits. Perhaps you need vector art that is sophisticated. You may need bespoke branding that templates do not offer. The sheer volume of work may exceed what one person can do.
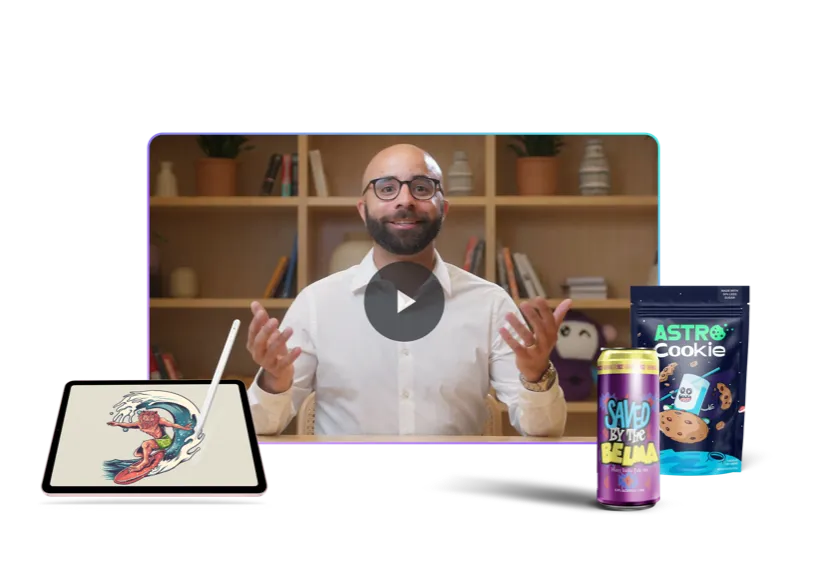
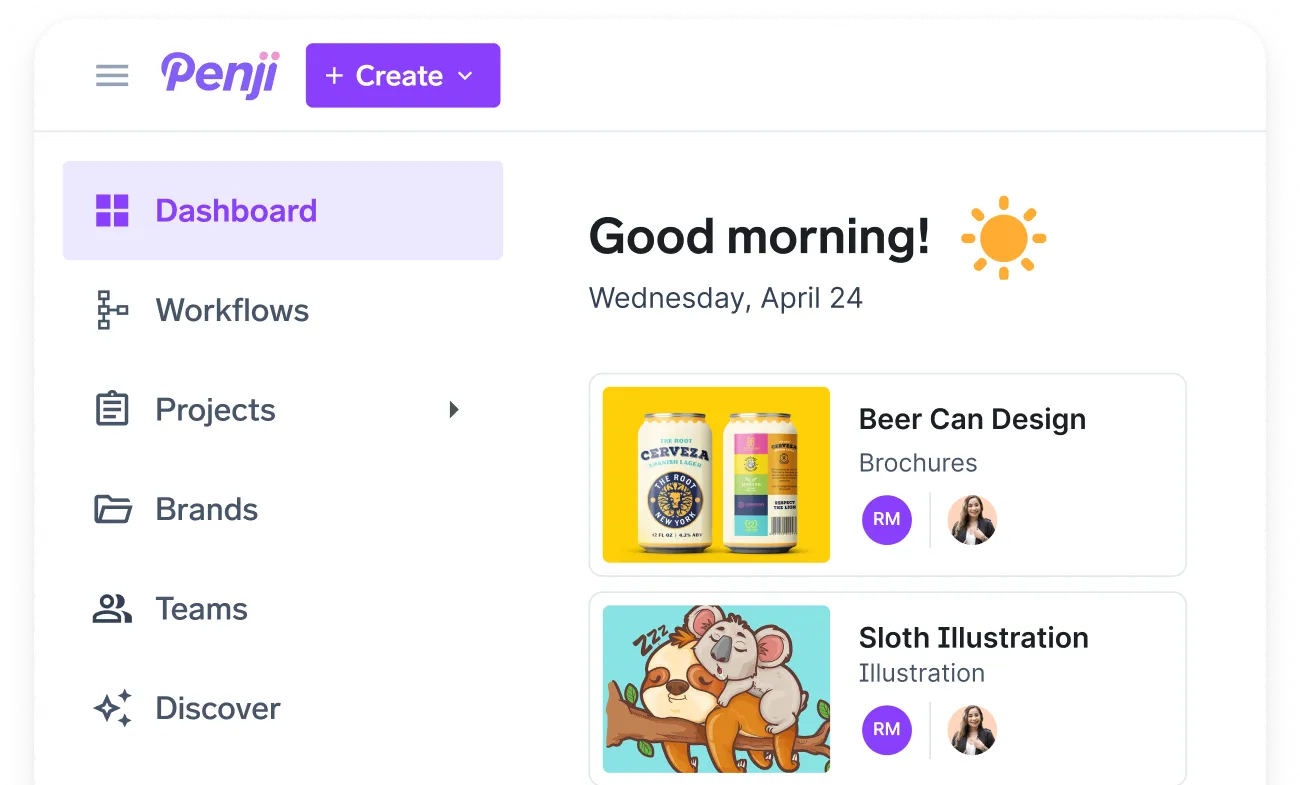
If you find yourself spending more time pixel fiddling than campaign thinking, it might be time to look into graphic design subscription. Graphic design services are like having a graphic design team. Rather than hiring a freelancer project by project, unlimited graphic design subscriptions like Penji allow you to pay a monthly fee for all the designs you need. This may be a viable Canva alternative if you are looking to scale and keep it more professional rather than DIY.
Conclusion
Canva makes marketing design fun and super fast. Forget about clunky design tools and just getting the basics down. You can create stunning marketing graphics in a matter of minutes thanks to templates, brand kits, and features like Magic Resize.
But let’s not forget that tools are just tools. Imagination was never meant to stand still. So get started playing today, and the more you do, the better your marketing will be.
Ready to transform your marketing visuals?
[Sign up for Canva today]
Frequently Asked Questions (FAQ)
Is Canva free for commercial use?
Yes! Canva’s free version is fully-featured, and you can use it to create commercial use marketing graphics. If you want access to premium stock photos, more advanced Brand Kits, and Magic Resize, though, you’ll want the Pro version.
Can I use my own font in Canva?
Yes! But only on the Canva Pro version. You can upload your fonts to your Brand Kit and use them in all your designs.
How do I ensure my designs aren’t blurry?
Always use high-resolution images (at least 1080×1080 pixels for social media). When downloading, choose the highest quality setting, especially for print (PDF Print).
About the author

Je Ann Bacalso
Je Ann is a creative content writer who crafts engaging, SEO-friendly articles and web copy. With a passion for storytelling and a sharp eye for detail, she delivers clear, compelling content that connects with readers.
Table of Contents
- 1. Why Canva Works for Marketing
- 2. Getting Started with Canva
- 3. Choosing the Right Template
- 4. Customizing Your Design
- 5. Canva Tools Every Marketer Should Know
- 6. Step-by-Step Tutorials (Hands-On Practice)
- 7. Exporting and Sharing Designs
- 8. Beginner Tips to Elevate Your Designs
- 9. Mistakes to Avoid
- Is Canva Enough?
- Conclusion
- Frequently Asked Questions (FAQ)