Canva is a popular online design tool that offers an easy way to create professional-quality graphics. With millions of users globally, it provides exciting benefits to designers and non-designers alike. Whether you’re a small business owner who needs branding materials or a blogger looking for visuals to enhance your blog, Canva can help. Here is a step-by-step guide on how to add another page on Canva. We also added a few tips to improve your designs.
Table of Contents
- How to Add Another Page on Canva
- How to Duplicate Pages
- How to Delete Pages
- How to Rearrange Pages
- Tips to Improve Your Designs on Canva
- Conclusion
How to Add Another Page on Canva
If you’re creating an eBook, brochure, a selection of templates, or other multi-page documents, you can make this in one Canva document following the steps below.
There are two ways to add another page on Canva.
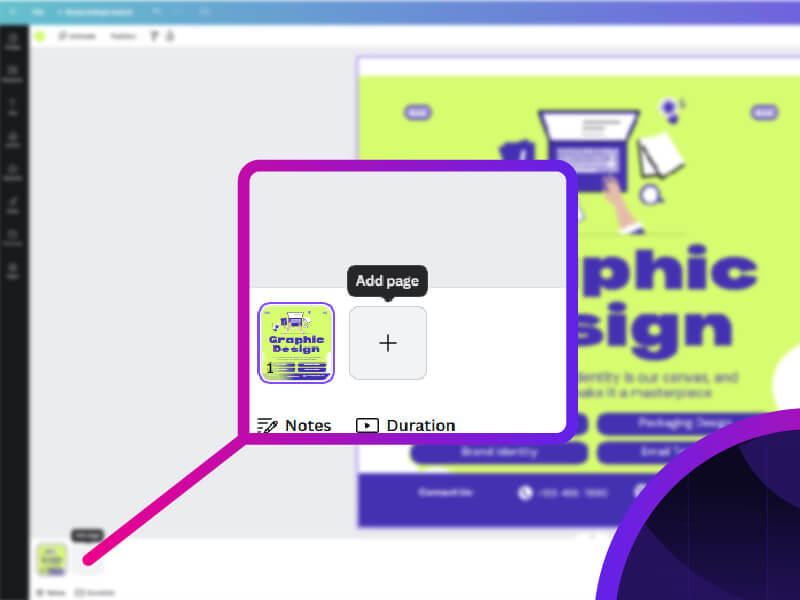
- In the scrolling view, you can add a new page by clicking “Add page” in the upper corner of any page.
- In the thumbnail or grid view, click the “+” button after the last page or move your mouse before or after a page.
To switch between scrolling and thumbnail views, click the “Show pages” or “Hide pages” tab at the bottom of the editor.
To select the grid view, click the “Grid view” icon at the editor’s bottom corner.
Essentially, designs can have up to 350 pages. If you need more, you can create a new design as an alternative. Download both designs and merge them using any file merger.
How to Duplicate Pages
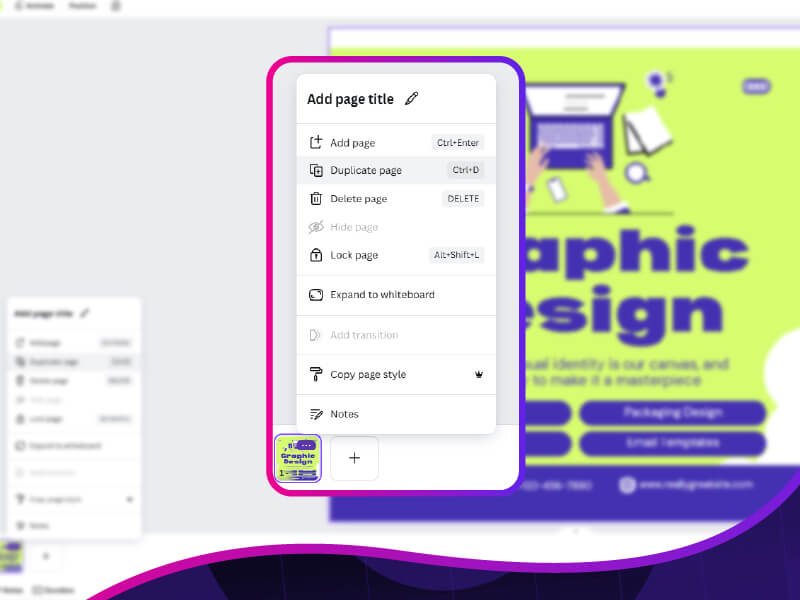
If you are in a scrolling view, hover your mouse to the upper corner of a page, then click “Duplicate page.”
Meanwhile, if you’re in thumbnail or grid view, follow the following steps:
- Click on a page to select it.
- To select multiple pages, press Ctrl (Windows) or Command (Mac) on your keyboard, then click on additional pages.
- On the toolbar above the editor, click “Duplicate page.”
Or, you can do this combination of shortcuts: After clicking on a page thumbnail, press Cmd + C (Mac) or Ctrl + C (Windows) to copy and Cmd + V (Mac) or Ctrl + V (Windows) to paste.
How to Delete Pages
In the scrolling view, go to the upper corner of a page, then click “Delete page.
You may follow these three simple steps to delete pages in thumbnail or grid view:
- Click on a page to select it.
- Hold Ctrl (for Windows) or Command (for Mac) on your keyboard and click on each page you want to include in your selection.
- Lastly, click on the Delete page on the toolbar above the editor.
Note, however, that you can’t delete a page if it is the only page remaining in your design.
How to Rearrange Pages
Aside from learning how to add another page on Canva, you should also learn how to rearrange pages. In the scrolling view, click on the up and down arrows above your design to move your pages up or down. While in the thumbnail or grid view, click and drag the selected page to its new position.
Tips to Improve Your Designs on Canva
In this section, you’ll find some of the best Canva tips and tricks to make your design more attractive.
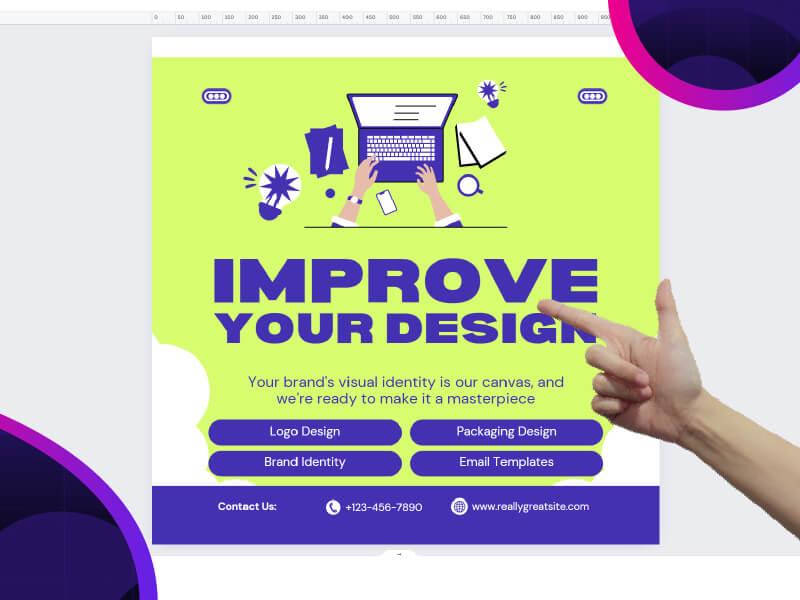
Tip #1: Center align text
Would you like your text to be center-aligned in your design? Just drag the text box handle to the outer edges of your canvas. To create additional text boxes with the same font and size that are also center-aligned, copy the first text box, drag it down, and then change the words in the text field.
Tip #2: Choose an element that is behind another element
If you’ve created Canva designs, you’ve likely noticed that selecting a text box or element hidden behind another element can be challenging.
However, there’s a quicker way: using a keyboard shortcut.
In the Layers panel, hold CTRL (Mac: Command) and click on the top layer thumbnail. Then, keep holding CTRL/Command and click on the next layer thumbnail you want to select. This will select the layer behind the current one. Keep clicking until you select the layer you need.
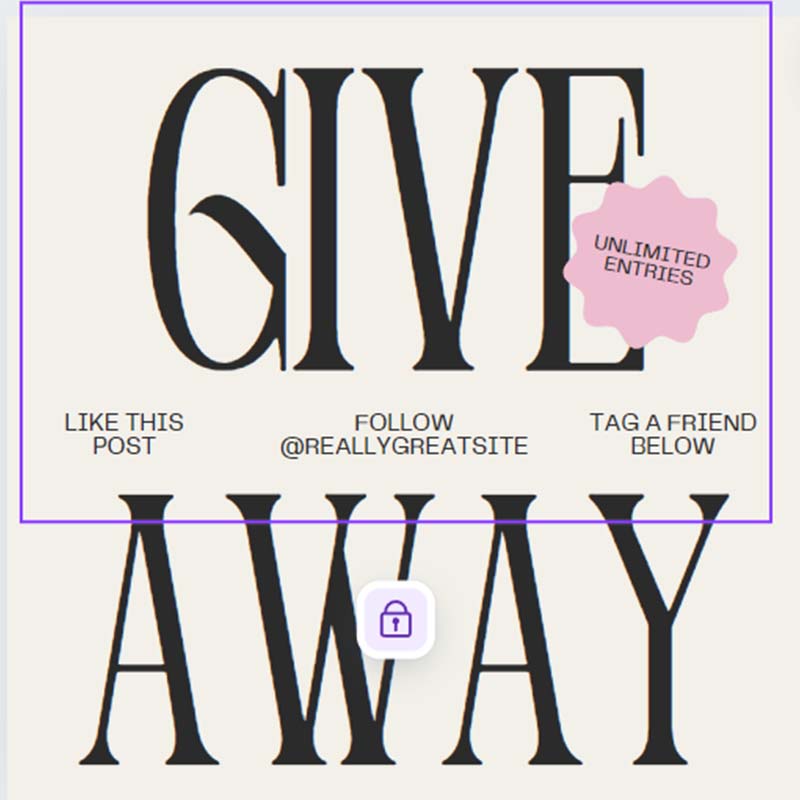
Tip #3: Lock or group elements
When working with overlapping elements, it can be helpful to lock certain ones to avoid accidentally moving them.
Select the items you want to lock, then click the lock icon in the top right corner. You can also hold down the Shift key while selecting each element and then click the lock icon to lock multiple aspects simultaneously.
Additionally, you can group elements by holding Shift, selecting the elements, and clicking on “Group” in the top right corner.
Once grouped, selecting one element will select all elements in the group, allowing you to move or resize them together.
Tip #4: Add clickable links in Canva PDF files
You can also add links to your Canva documents and download them as a PDF. Add links to the Canva editor and download a finished eBook as a PDF file. From there, you can easily convert your PDF file into a digital flipbook and incorporate many interactive features.
- Open your Canva document or any project and choose the anchor text to which you want to add a link.
- Click the three dots and choose “Link” from the menu.
- After selecting “Link,” a box will appear and paste the link.
- Click the “Share” button in the top right corner of the editor, then choose “Download”.
- Click the dropdown menu under File type and select the PDF Standard option.
- Click the purple Download button.
Tip #5: Text box shortcut
If you want to add a text box to your design quickly, type the letter on your keyboard. Then,a text box will instantly appear.
Tip #6: Shape shortcut
You can also add specific shapes with shortcuts:
- R – adds a rectangle
- C – adds a circle
- L – adds a line
Conclusion
Canva’s intuitive interface and powerful features make it a go-to platform for creating stunning visuals, whether you’re working on social media graphics, presentations, posters, or any other design project. Adding these Canva tips and tricks to your workflow will save time while enhancing the quality of your designs.
If you’re looking for personalized design support, consider using Penji. Penji offers unlimited revisions and a quick turnaround time, ensuring your projects are polished and professional. Watch a short demo video and learn how to elevate your designs with Penji.
About the author

Rowena Zaballa
With a background as a former government employee specializing in urban planning, Rowena transitioned into the world of blogging and SEO content writing. As a passionate storyteller, she uses her expertise to craft engaging and informative content for various audiences.