Demand for animation, video, and other content types has risen to increase engagement and views on various digital platforms. As such, animation is now a coveted skill by many graphic or illustration designers. As an aspiring animator, you must find the right software to get started on your animation journey. One tool that helps you get started on your new career path is Pencil 2D. One upside of using this tool is that it’s free! And if you need help using it, here’s our handy guide on how to use Pencil 2D!
How to Use Pencil 2D
Pencil 2D is loaded with so many features and tools that using Pencil 2D is a versatile solution for animation projects. Before creating basic animation, below are some quick guides for beginners on Pencil 2D. Plus, learn what tools and layers you should know before using the software.
What are the Pencil 2D Tools?
- Clear frame – deletes the current frame
- Select tool – select objects in the frame you want to modify or remove
- Hand tool – move the canvas
- Polyline tool – create lines and curves
- Smudge tool – edit polylines or liquify bitmap pixels
- Pencil tool
- Brush tool
- Pen tool
- Eraser tool
- Move tool
- Eyedropper tool
What are the Layers in Pencil 2D?
- Bitmap Layer – You can draw raster illustrations on this layer
- Vector Layer – You can draw vector illustrations on this layer
- Camera Layer – You can modify media files or move the canvas with this layer
- Sound Layer – You can import sounds on this layer
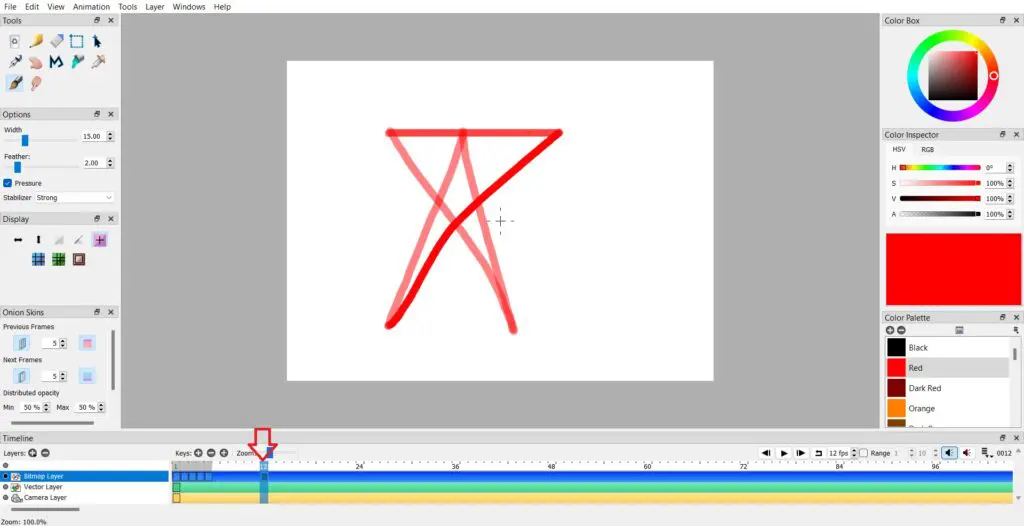
1. Adding, Deleting, and Duplicating Keyframes
Keyframes are necessary to make your animation seamlessly from start to finish. This will help your drawings or illustrations move.
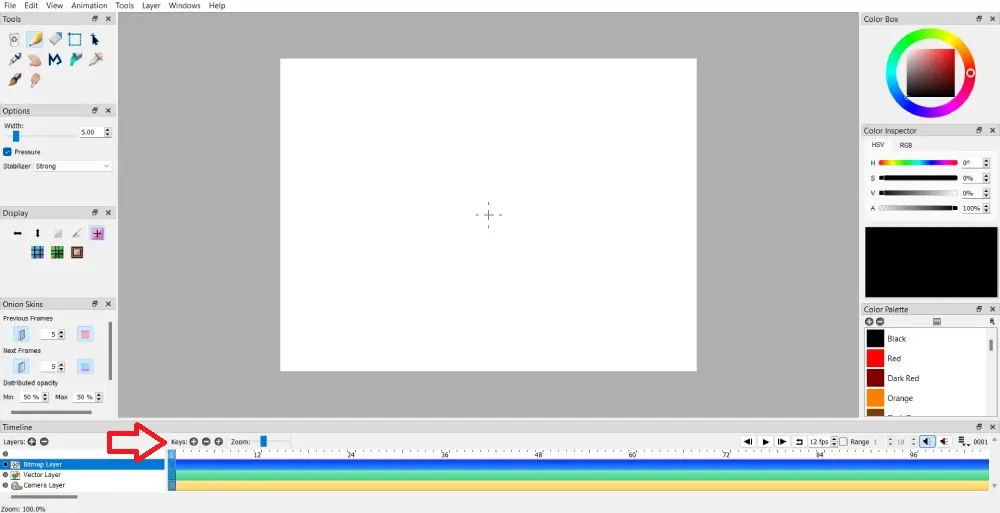
You can add a keyframe by going to the timeline. Then, in the Keys section, click the left-side + button.
Did you add more keyframes to your animation project but want to remove them?
Go to the timeline. Then, on the Keys section, click the – button. From there, you can remove that frame.
If you want to duplicate keyframes, click the + button on the right of the delete keyframe button. This will duplicate a keyframe you selected.
Note: Make sure you select a keyframe first when you delete it. You’ll know if it’s selected when it has a blue highlight on the frame number. This is also applicable when moving keyframes.
2. Moving Keyframes to Another Frame
If you duplicate keyframes and decide that keyframe is a much better fit in another frame, you can move it! You don’t have to delete and create a new keyframe.

You can do this by clicking on the specific keyframe you want to move.
Then, double-click the keyframe and drag it to your desired frame.
3. Adding and Deleting Layers
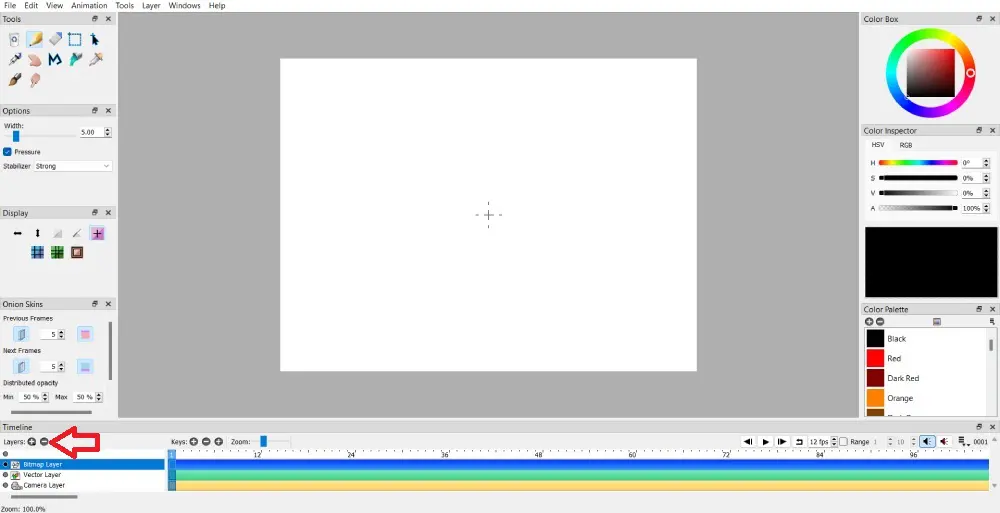
Do you need extra layers when creating your animated project? Adding layers is easy by clicking the + button on the Layers section found in the timeline. You can add an extra bitmap, vector, and camera layers. However, you can add a sound layer if your animation has sound.
If there are too many layers, you can delete a layer by clicking the – button on the Layers section.
4. Adding Certain Elements to Existing Media
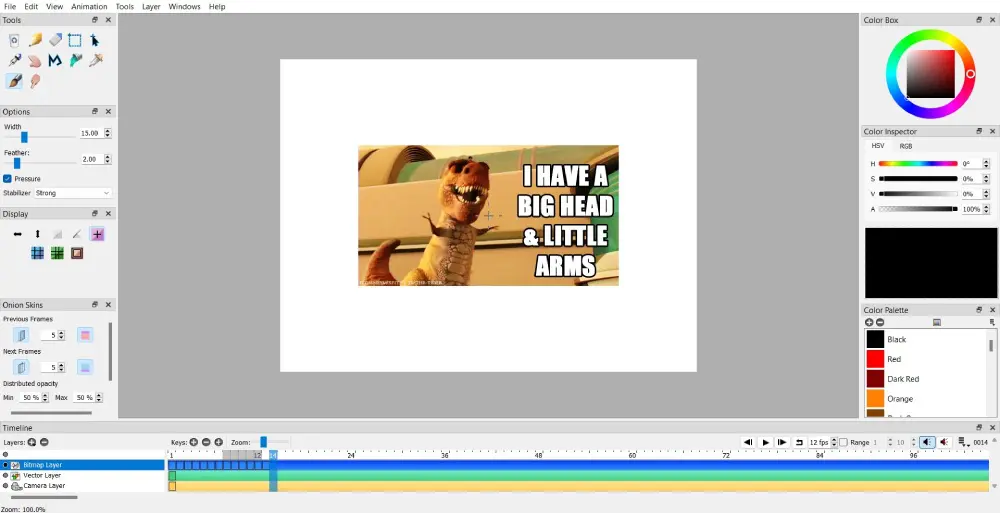
You can make simple animation edits to certain gifs or videos. For instance, you can put an image on top of a GIF or video. Add a new bitmap layer if you place an image or icon on top of a GIF.
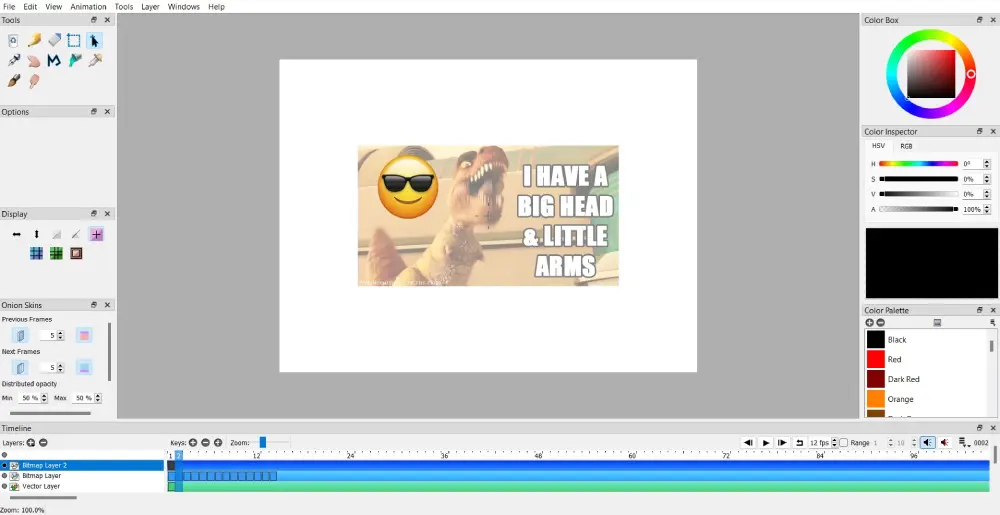
Then, move or edit the image element accordingly.
However, you can draw on the bitmap layer if you want to add drawings. Then, manually draw shapes, lines, or other elements in every frame.
5. Setting Shortcuts
If Pencil 2D will be your go-to animation tool, you can set quick shortcuts for faster and easier use for other animation projects. You can do this by following these steps.
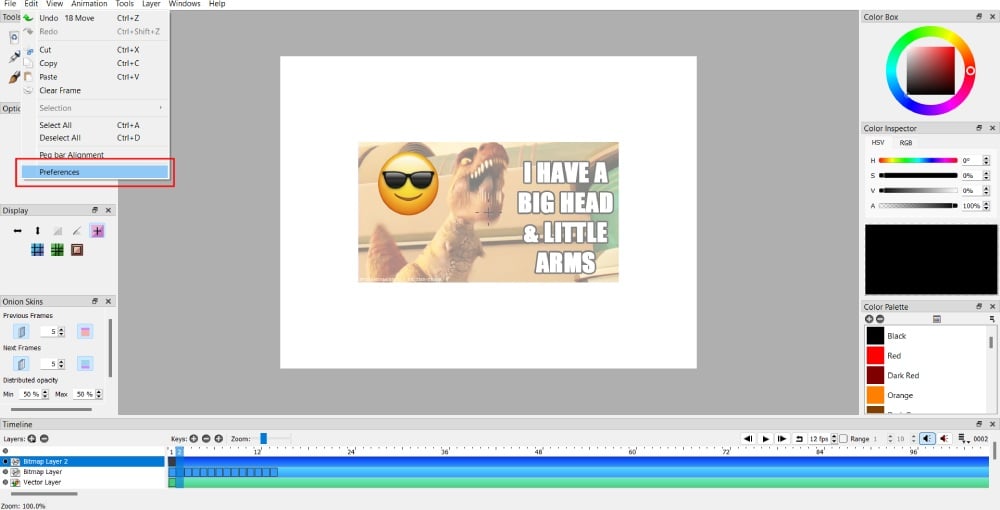
Click Edit on the Menu bar. Then, select Preferences.

Scroll down to Shortcuts to set your preferred shortcuts when creating animations. Then, click Save to save your preferences.
6. Importing Files
Your animation work may need other media forms. For instance, if you’re creating an animated character walking in a field of flowers, you can upload an image to show that this character is walking on a flower field background.
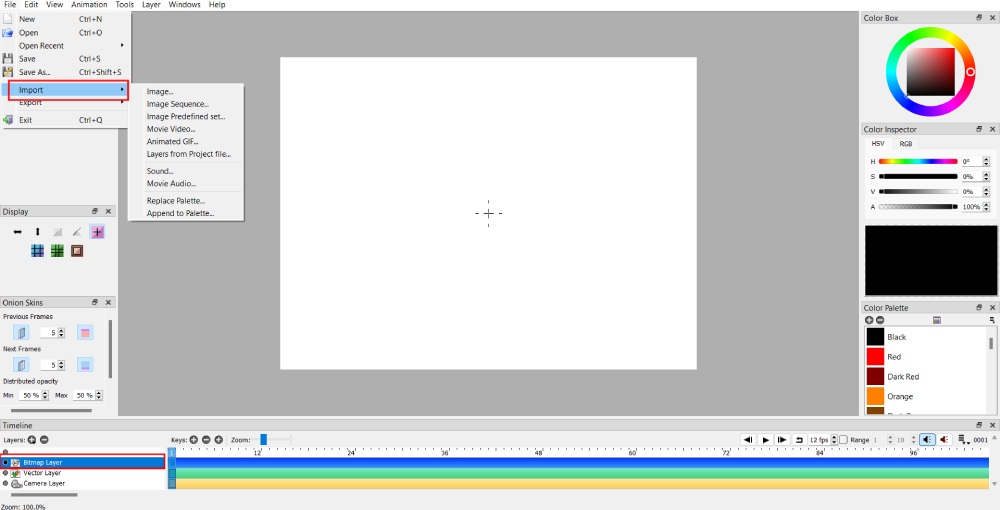
You can import an image by clicking File > Import. After that, choose the media type you want to Import.
Note: You can’t import media if you’re on the vector or camera layer. Select the bitmap layer first, then import media.
7. Saving and Exporting Your Project
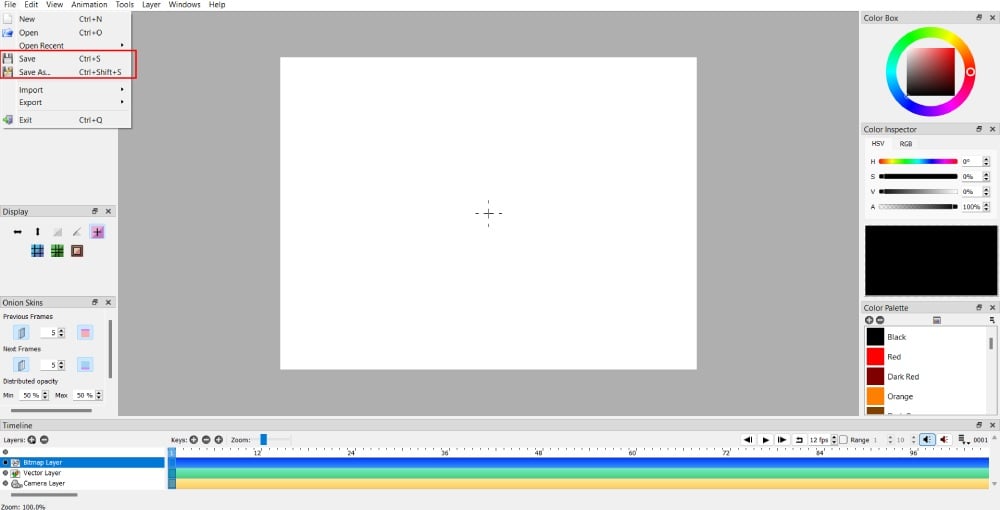
Don’t let your hard work go to waste by not saving your animated work. Make sure to save your project. You can save the new project when you start your work by clicking File > Save As. For Windows, the shortcut is Ctrl + Shift + S, and for Mac, Shift + Cmd + S.
Once saved, save your progress repeatedly by clicking the Save button. To save your project’s progress, press Ctrl + S for Windows and Cmd + S for Mac.
8. Using the Smudge Tool
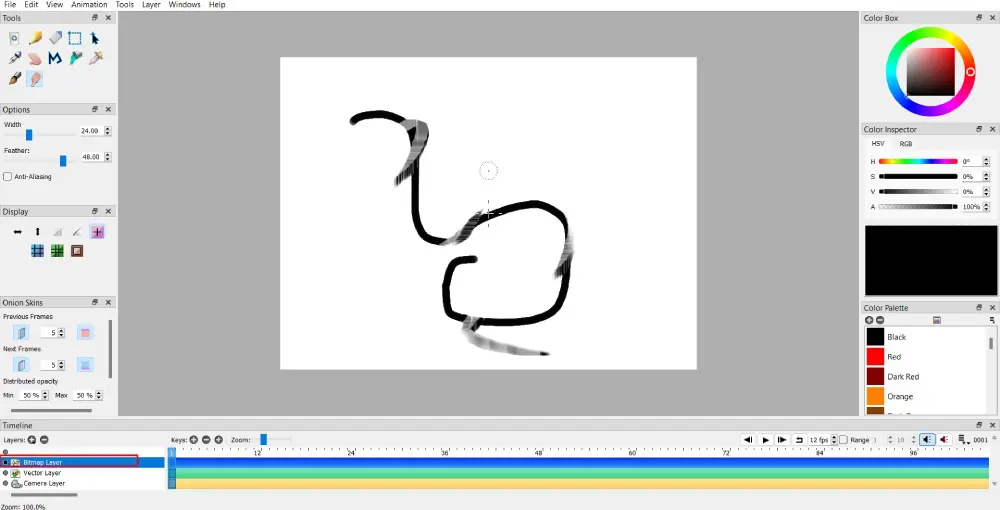
The smudge tool has two functions for bitmap and vector images. It liquifies or smudges the bitmap image. You can give your animations a flare-type effect with the smudge tool.
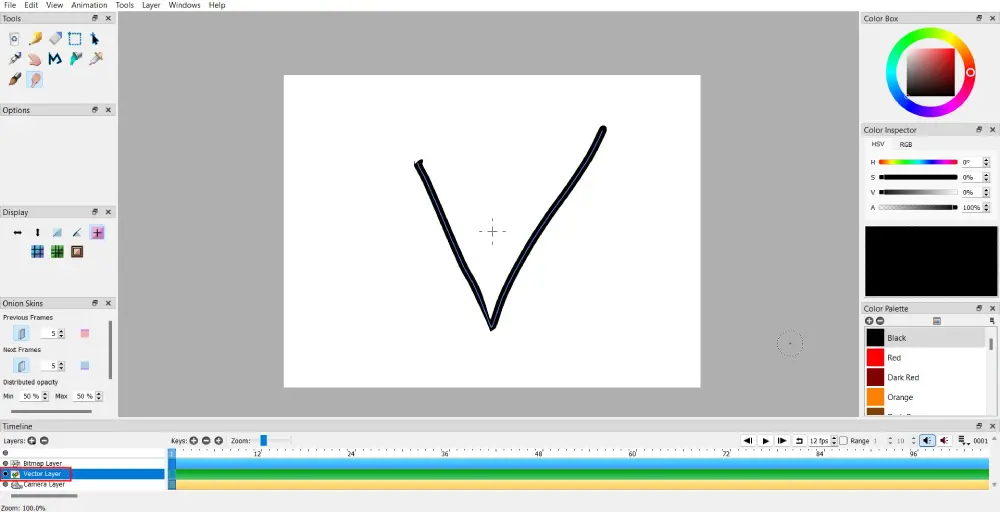
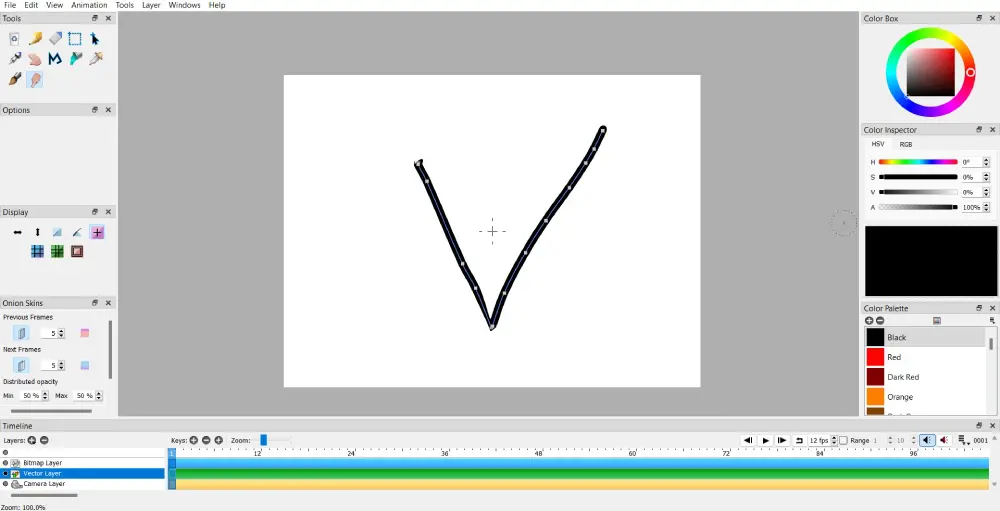
However, if you want distortion to create movement, the smudge tool helps you manipulate lines or shapes.
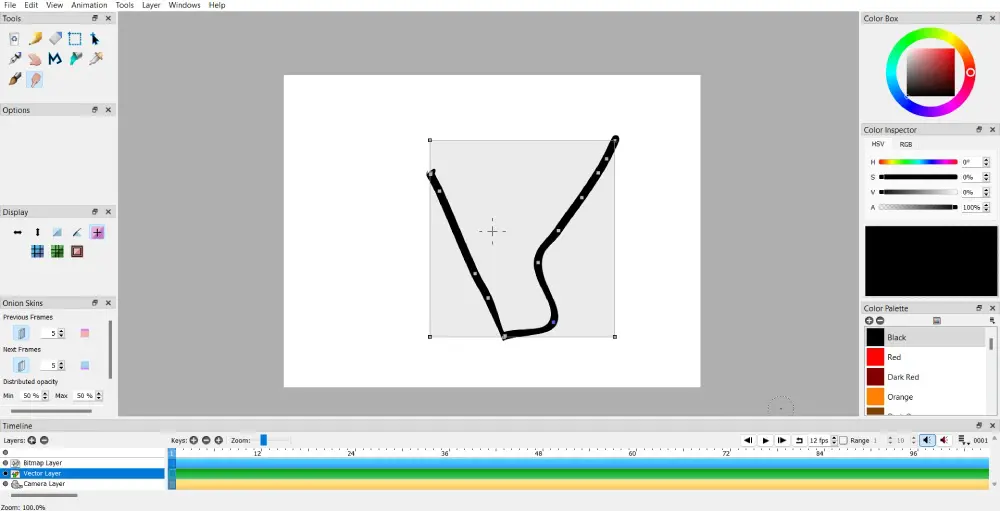
You can move the points in any direction, but make sure to drag the paths. And if you want to create movement, duplicate the keyframe and move other parts of the shape. However, you can distort the image in one frame if you don’t want to make a line or shape move. Then, add a new frame for another line or shape.
9. Rotating Images
Some illustrations in your animation need to be rotated depending on the story you’re telling. Or, if you drew a shape and want to change the perspective in another frame, here’s how to rotate an image.
This works only on the bitmap layer.
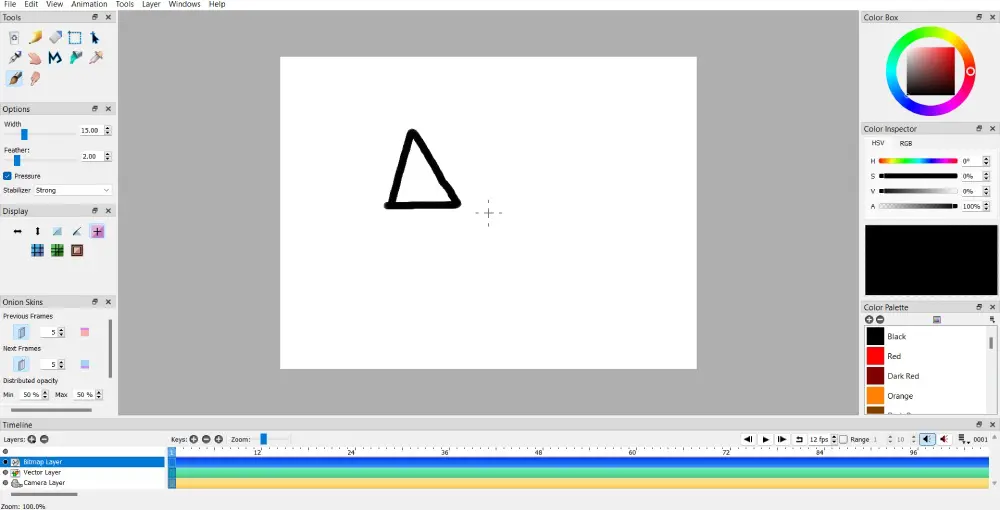
First, you need to draw an image or shape.
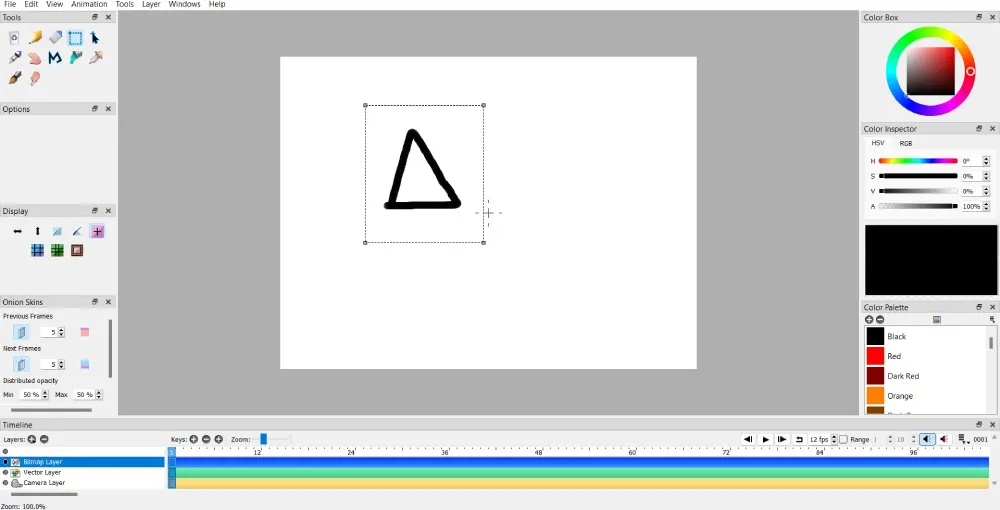
Then, click the Select Tool. Then, make sure you cover the illustration, shape, or drawing area to ensure that the whole image or shape rotates.
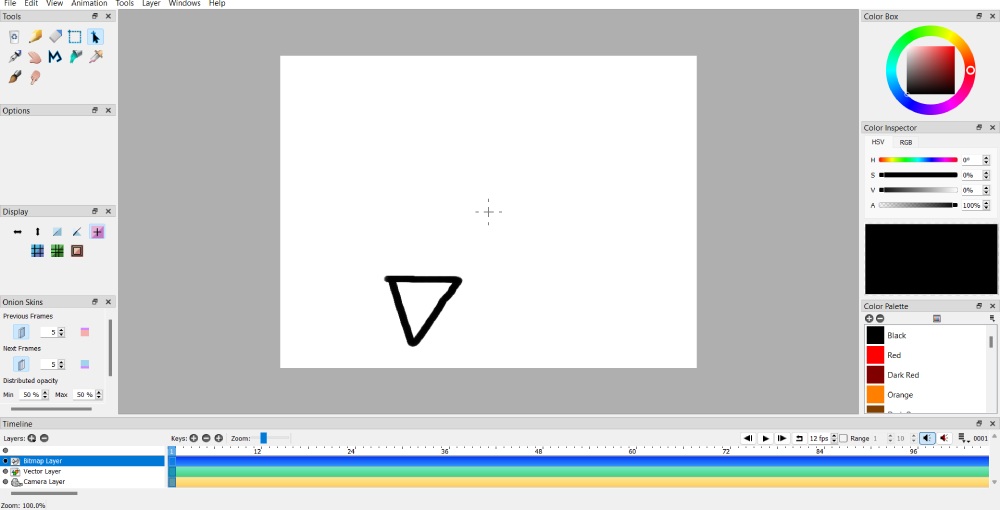
Then, select the Move Tool. But before you move anything, press the Ctrl or Cmd button, then click the left mouse button. After that, rotate the image in your preferred direction!
Vector images don’t rotate, but if you move them upwards, the shape or illustration will appear upside down. You can do this by using the Move Tool. Then, click any of the four points in the square. After that, move your mouse upwards, which should appear upside down.
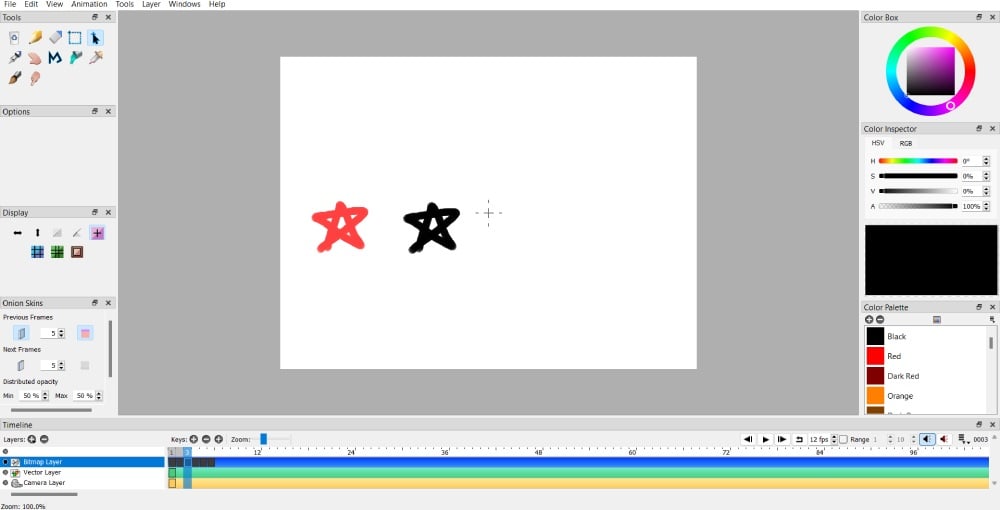
10. Duplicating Shapes or Images
Sometimes, you might need the same shapes or images in one frame. You can draw manually, but it could take time and be difficult to copy the same shape or image. You can do this without drawing again!
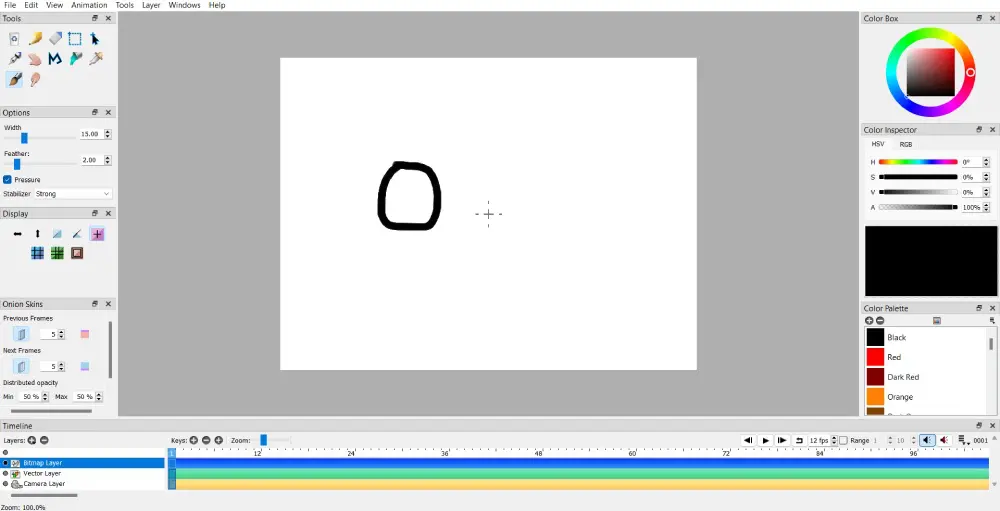
Draw your shape or image in one frame on one side.
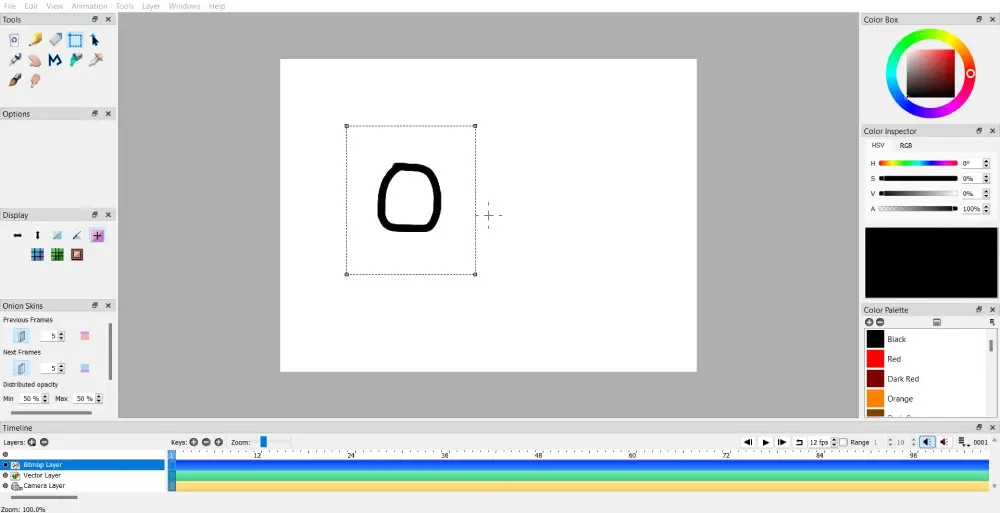
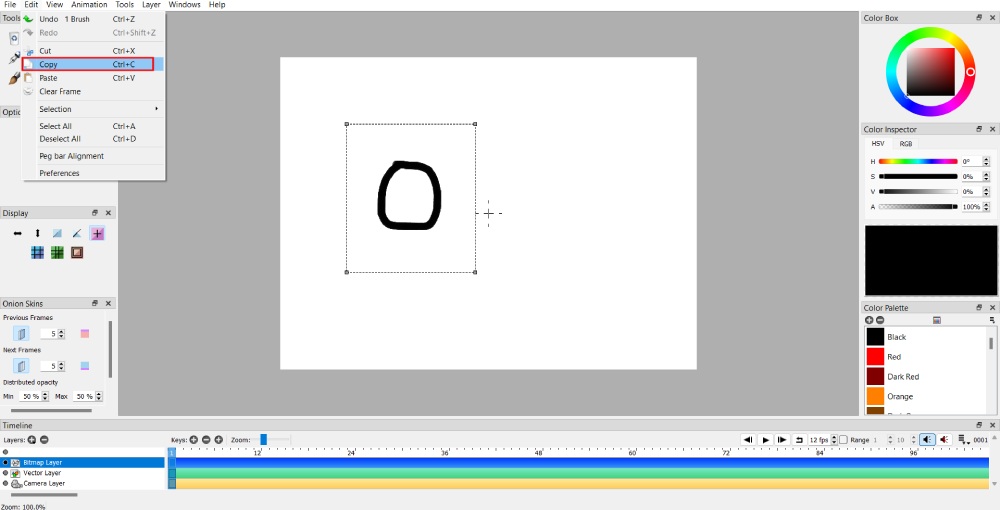
Once finished, use the Select tool and go to Edit > Copy.
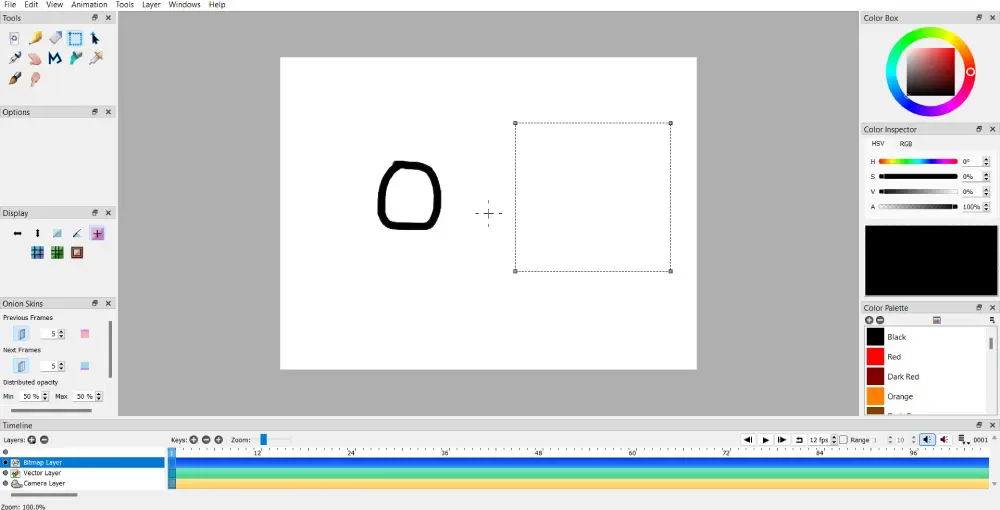
Use the Select tool again with roughly the same dimensions as the first image or shape in an empty space on the same frame.
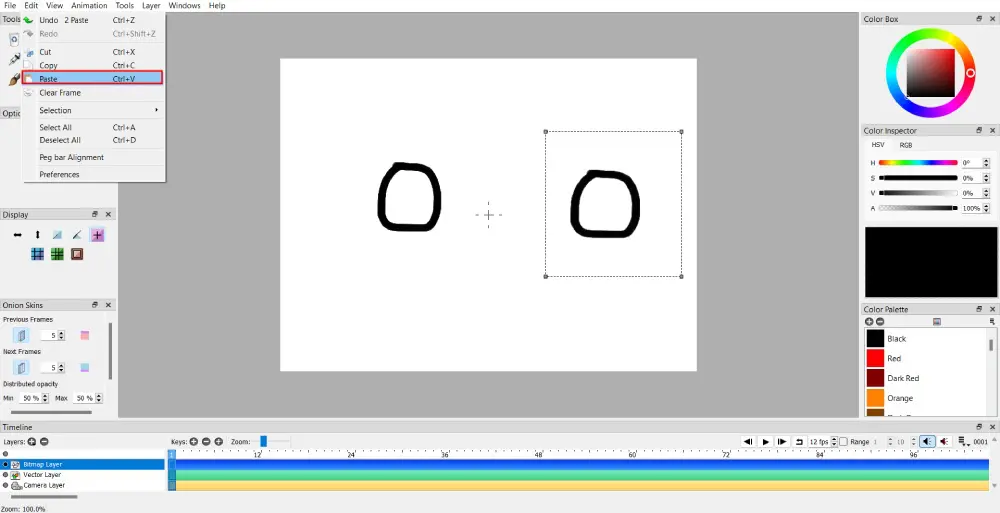
After that, click Edit > Paste to copy the image or shape.
11. Moving An Image or Shape in One Direction
Let’s take this layer by layer. It requires patience because you need to duplicate keyframes, sometimes for every movement. But let’s start simple.
If you have a bitmap image, you need to use a combination of the Move and Select tools.
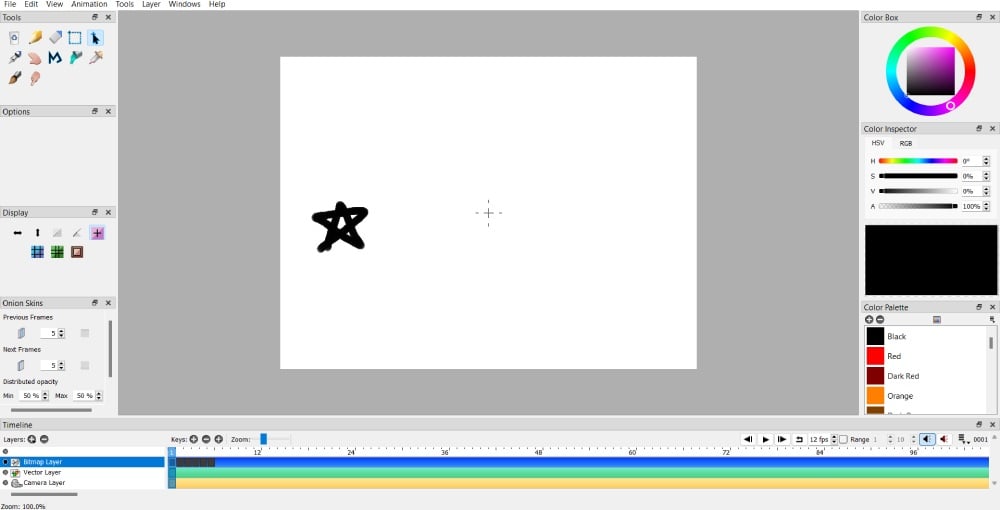
If you want to move the image in one direction, click the Duplicate keyframe button.
From there, Select the image or shape you want to move.
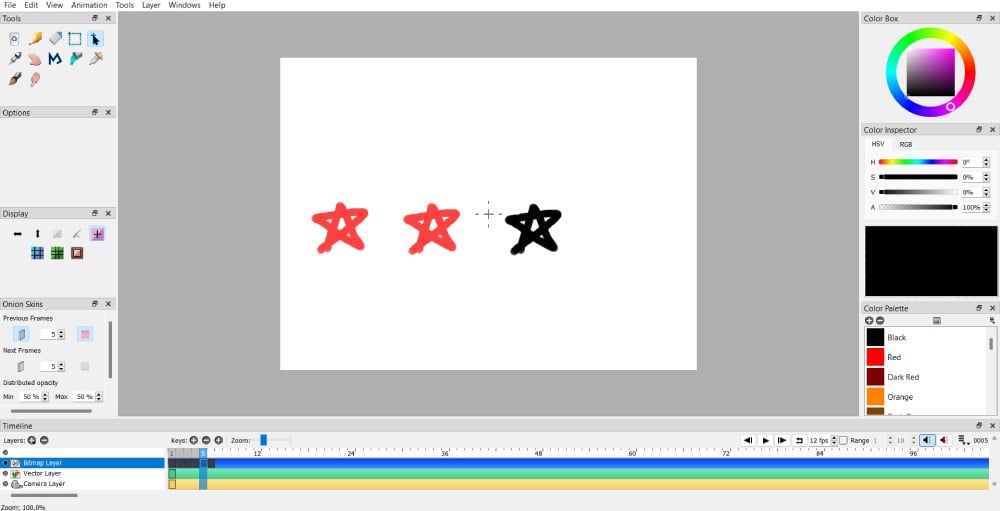
Then, use the Move tool to the direction you want the shape or image to go.
Meanwhile, you don’t need the Move or Select tools if you have a vector image. Like the bitmap image, click the Duplicate keyframe button. Then, move the vector image to whichever direction.
12. Moving an Image Background in One Direction
Some animation projects will require various moving objects on one canvas. You can move the background image, too, if your animation project requires it. Like the moving shape or object, you need patience since you need to add or duplicate keyframes to move backgrounds smoothly. However, if you want to move a background from one place to another in one snap, that’s doable, too.
Moving background images smoothly
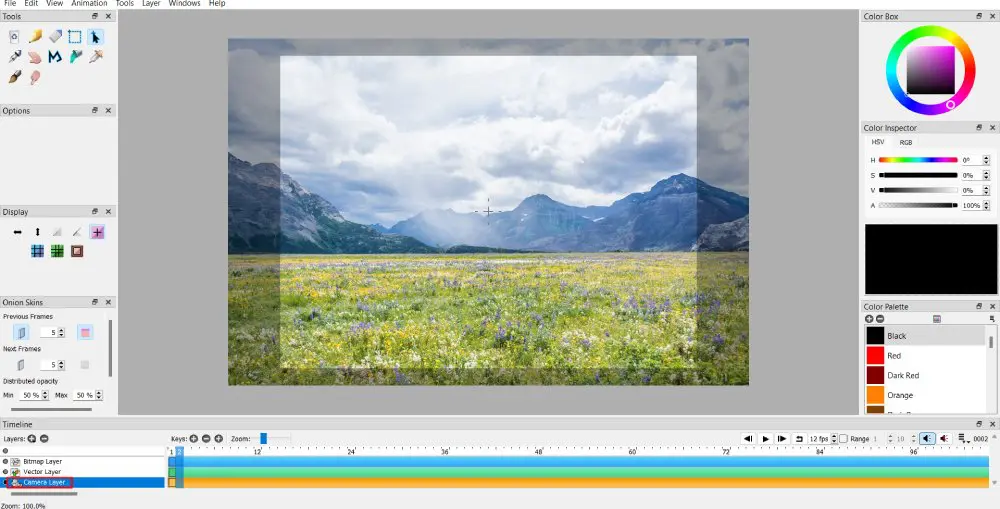
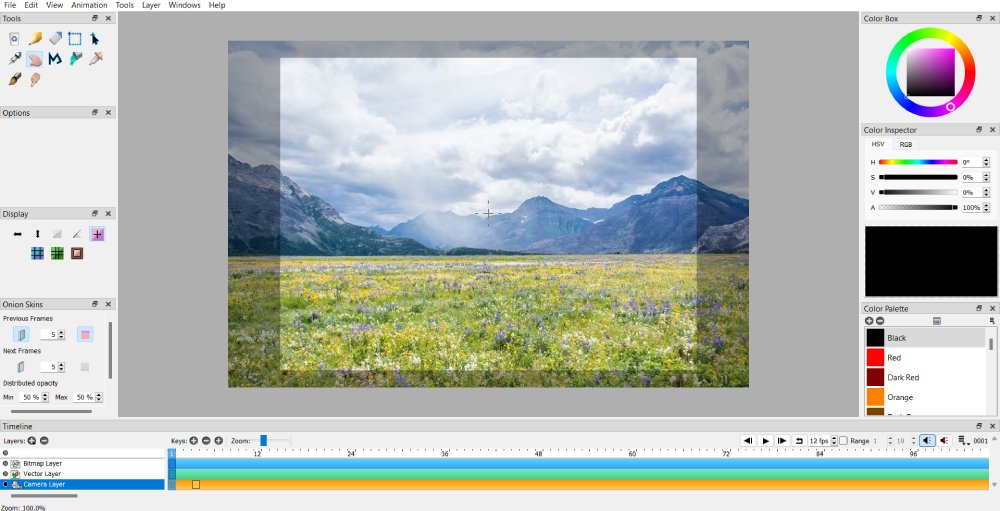
Import a background image. Once uploaded, click the Camera Layer.

Then, click the Duplicate keyframe. In the duplicate keyframe, move the image in your preferred direction by using the Hand tool.

Repeat this until you get your desired movement.
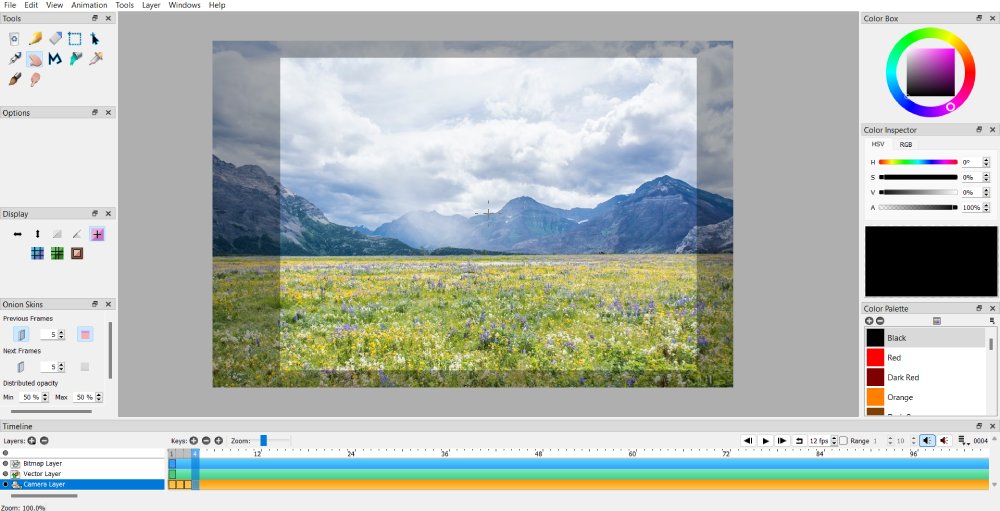
Moving a background image in one snap
If you don’t want a smooth transition from one direction to another, you can follow the directions above. But instead of creating a keyframe for every movement, you can jump to a specific frame and click the Duplicate keyframe button. From there, you’ll see the background jump from one place to another.
13. Organizing Your Palette
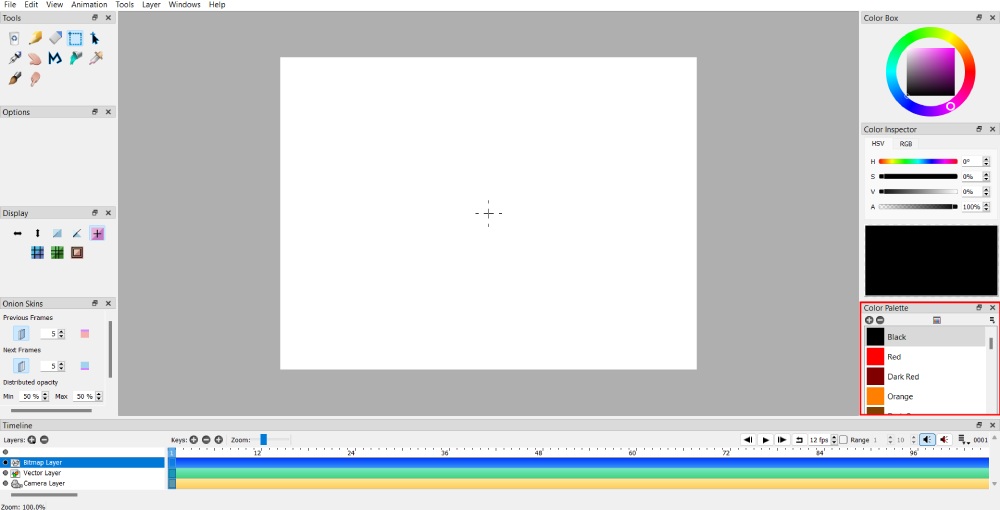
If you’re an animator, you might have a specific style. This could also reflect in how you color your animation designs. Pencil 2D has a preset palette of 24 colors. However, you can add or remove any shade to your project.
You can add a color by clicking the Select Color button in the middle of the Palette window. Once chosen, click the Ok button, and Pencil 2D will load that new color.
However, if you want to remove a shade, select the color you want to remove. Then click the – button, deleting that color from your palette.
You might work with clients that have specific branding colors. It’s important to keep branding consistent across various media or marketing assets to ensure your client is recognizable even through animation. In that case, you need to follow their branding colors. You can ask them for their palette and load it to Pencil 2D.
You can follow the steps above. Or, you can replace a palette. To replace a palette, go to File, then Import. On the Import section, choose “Replace palette.” Pencil 2D will load your new palette.
14. Creating Basic Animation
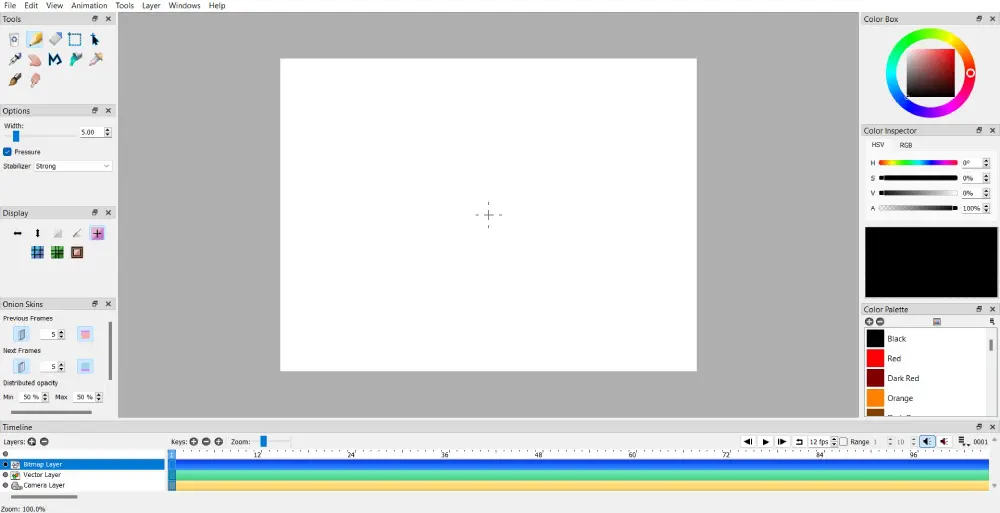
1. Open the Pencil 2D application. Pencil 2D already loads an empty canvas.
2. Click on any drawing tool to start illustrating the first frame
3. Once you’ve drawn the first illustration or movement on the first frame, click the + key button to add a new frame. Adding a keyframe will help you draw on a new frame to make your illustrations animated. Make sure that you click the Bitmap layer to draw your animations. However, if you don’t want pixelated illustrations, click the Vector layer for smoother drawings.
4. To show previous frames, make sure that the Onion Skins feature is activated. This way, you don’t have to do the guesswork on how to design the next frame. You can activate the previous frame, the next frame, or both.
5. Add or edit more keyframes and modify your work if needed. You can press the play button to get a preview of your work before exporting it.
Frequently Asked Questions
Is Pencil 2D Good for Beginners?
Yes, Pencil 2D is a great starter software for beginners. If you want to have experience in animation, Pencil 2D will help you understand the basics of creating frame-per-frame animation. Using a drawing tablet to illustrate every frame is recommended to create seamless animation.
Is Pencil 2D Free?
Yes, the open-source animation software is free to use. You can download the animation software on the website and use it immediately!
Can You Create 3D Animation on Pencil 2D?
You can only create hand-drawn and traditional animation on Pencil 2D. You need a different software for 3D projects. If you plan on doing 3D animation work, you can use Blender, another open-source animation software.
How Do You Get Help for Pencil 2D?
Pencil 2D has a documentation section for beginners who are using the software for the first time. However, if you can’t find answers or encounter glitches, you need to go to the Forum or their social media accounts to get help from other users.
Final Thoughts
Pencil 2D is one of the top animation software for beginners. You can start with simple animations to create GIFs or shorts. You can customize your animations by exporting images, videos, and GIFs to make an engaging video or adding color to bring it to life. Plus, Pencil 2D has the basic tools for illustrating your animations. This allows you to master your craft and attract more clients.
About the author

Katrina Pascual
Katrina is a content writer specializing in graphic design, marketing, social media, and technology. In her spare time, she writes monthly personal blogs to practice her craft.
Table of Contents
- How to Use Pencil 2D
- What are the Pencil 2D Tools?
- What are the Layers in Pencil 2D?
- 1. Adding, Deleting, and Duplicating Keyframes
- 2. Moving Keyframes to Another Frame
- 3. Adding and Deleting Layers
- 4. Adding Certain Elements to Existing Media
- 5. Setting Shortcuts
- 6. Importing Files
- 7. Saving and Exporting Your Project
- 8. Using the Smudge Tool
- 9. Rotating Images
- 10. Duplicating Shapes or Images
- 11. Moving An Image or Shape in One Direction
- 12. Moving an Image Background in One Direction
- 13. Organizing Your Palette
- 14. Creating Basic Animation
- Frequently Asked Questions
- Is Pencil 2D Good for Beginners?
- Is Pencil 2D Free?
- Can You Create 3D Animation on Pencil 2D?
- How Do You Get Help for Pencil 2D?
- Final Thoughts